THE BABY GOATS ARE GETTING BIG AND WEANING – IF YOU’VE BEEN WAITING FOR FRESH MILK OR CHEESE CLASSES, NOW IS THE TIME!!
Jeremiah Farm & Goat Dairy
ABOUT US
A Living Testimony to God’s Provision
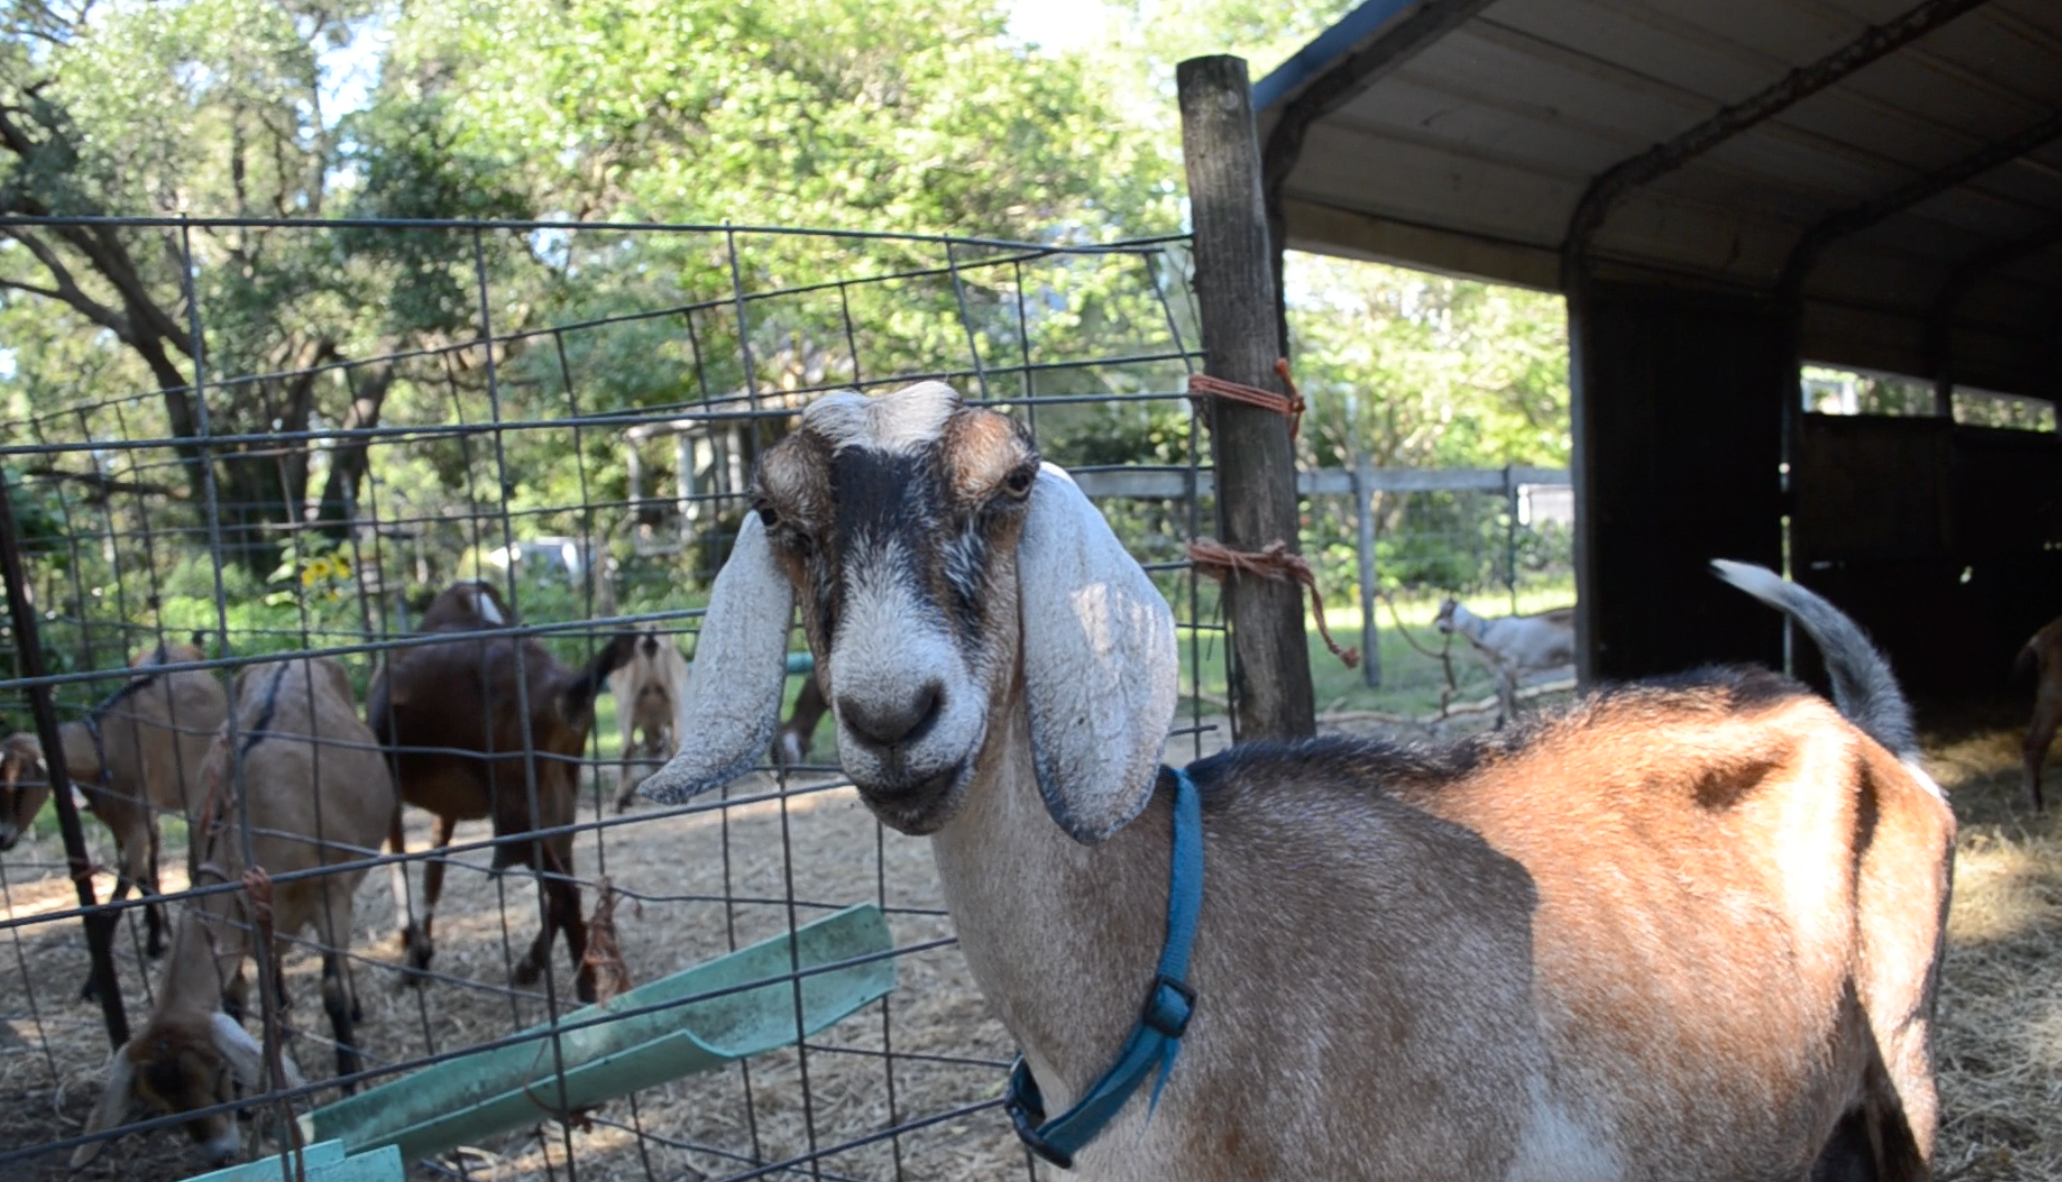
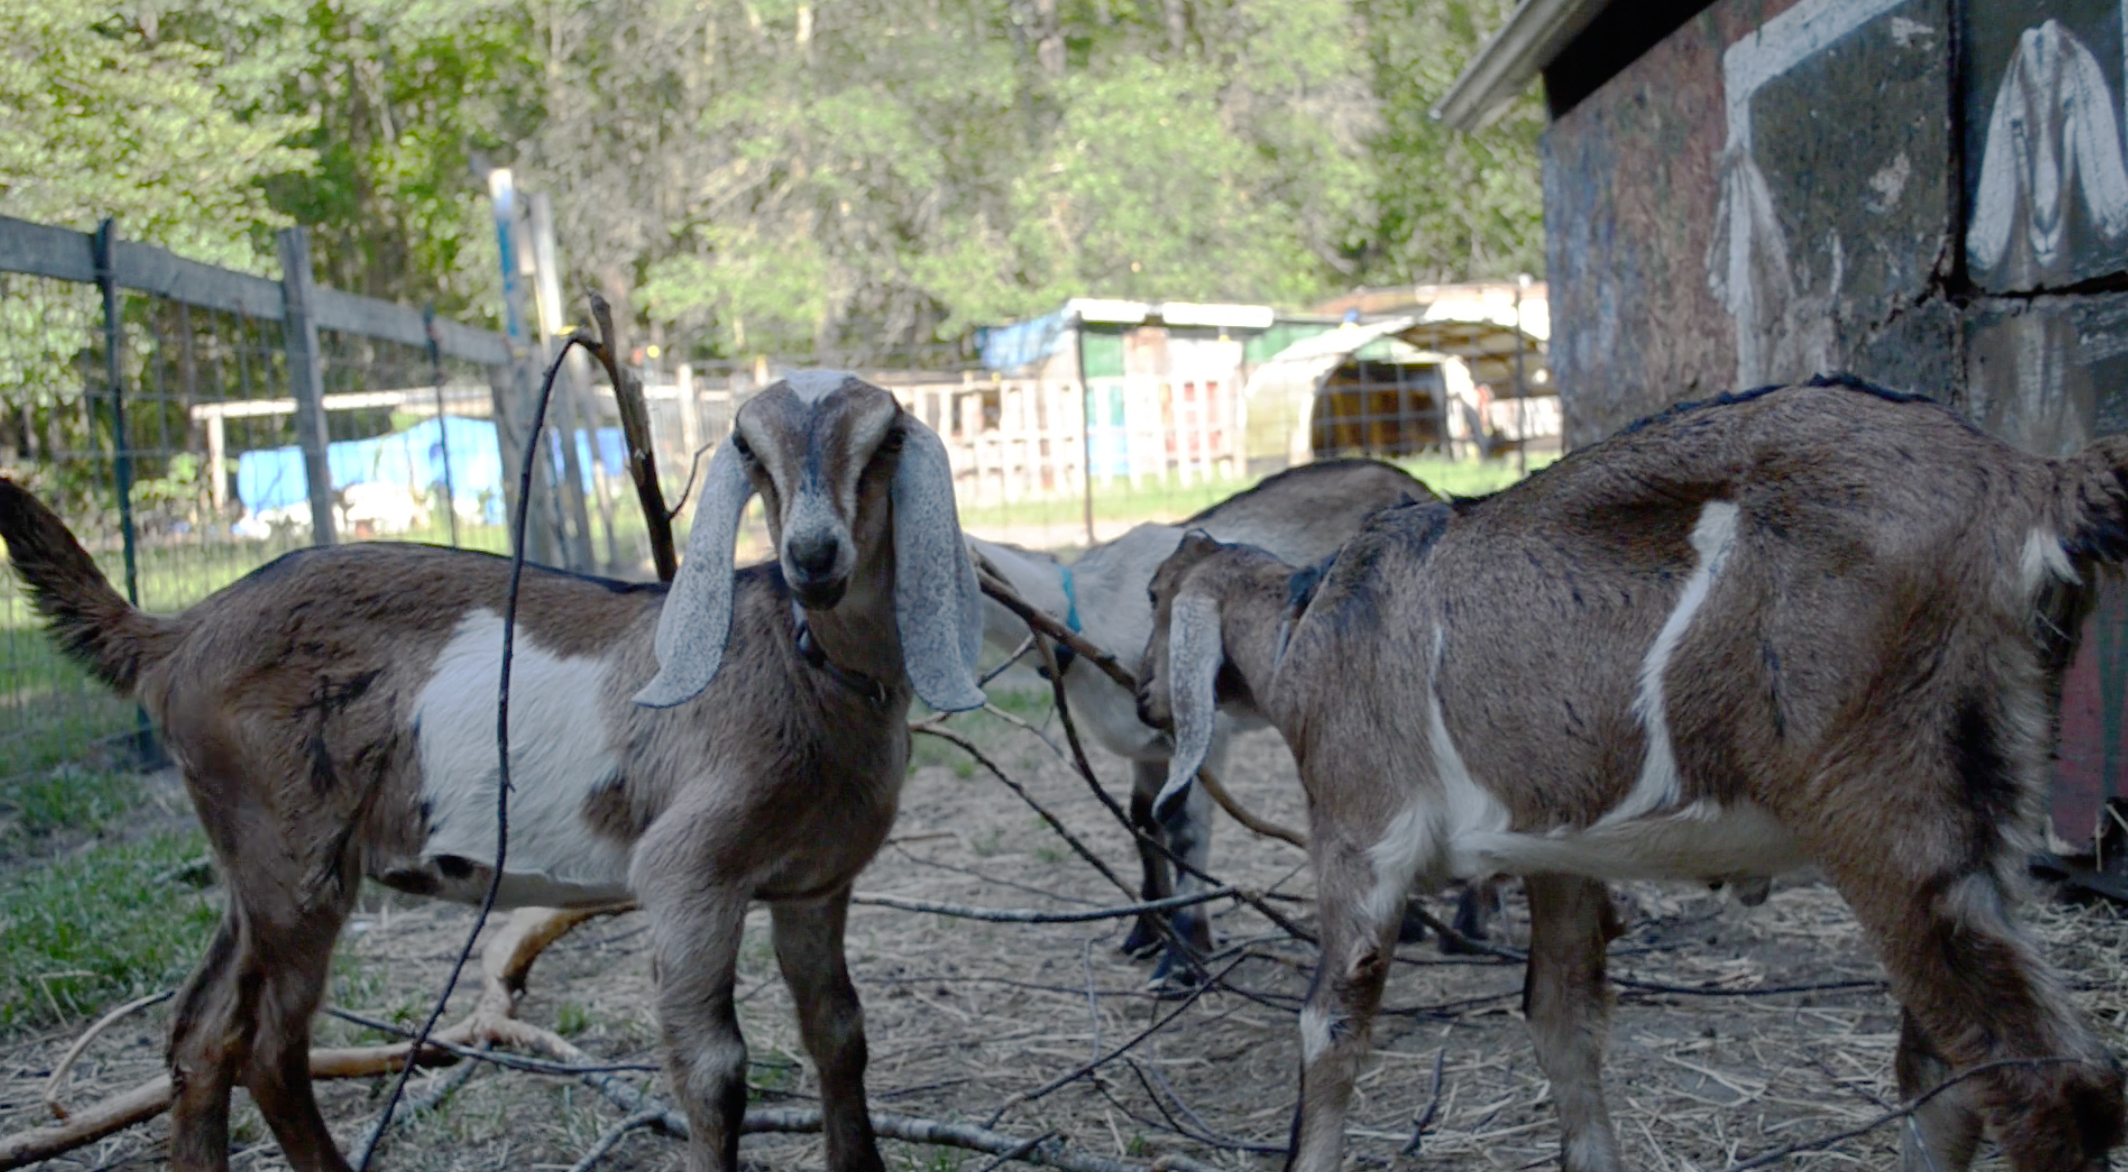
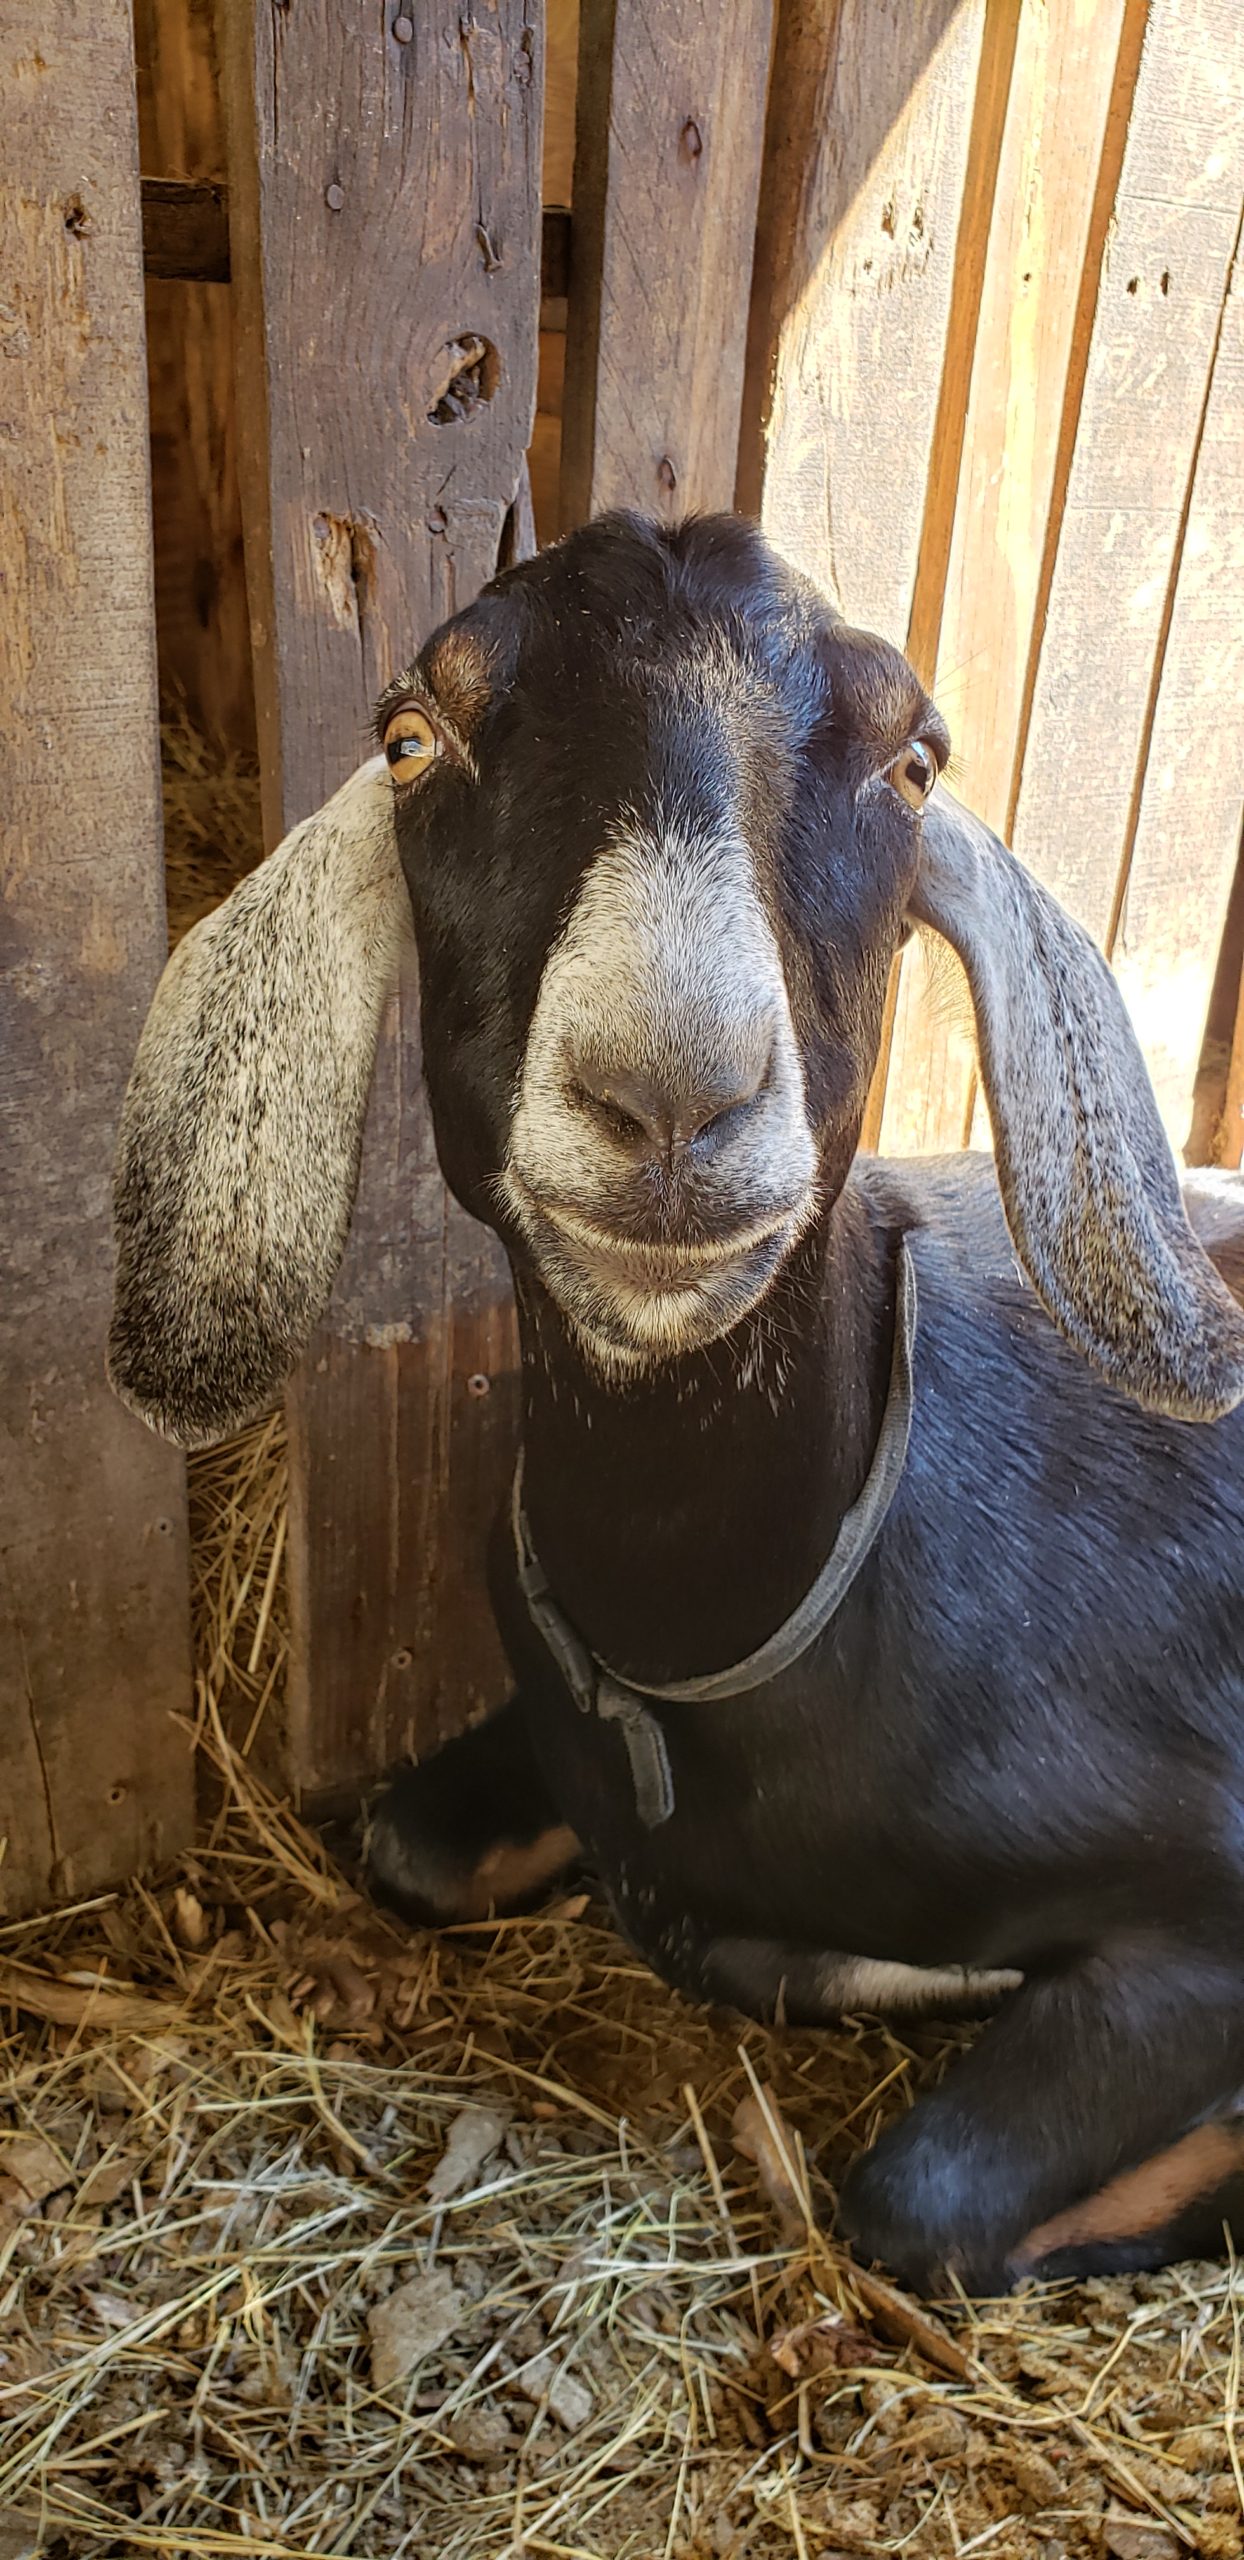
Jeremiah Farm is an educational farm and Grade A raw milk goat dairy. We invite you to visit our homestead and experience our small herd of dairy goats, laying hens, and seasonal vegetable, flower and herb gardens.
Our Mission
Welcome to the farm!
We are first and foremost a Grade A raw milk dairy. In addition to providing our community with the best tasting milk in the state, we are passionate about connecting folks with their local food through educational farm tours and sustainable living classes geared toward individuals, families, small groups and students.
We encourage local and seasonal eating by selling our Grade A raw goat milk, fresh eggs, farm fresh produce and herbs.
We sell our handcrafted goats milk soaps and birdhouses, farm grown loofa and also offer cheesemaking supplies and select dairy goats for those that are wanting to move into a more sustainable lifestyle.
What’s Coming Up At The Farm:
3 Cheeses In Three Hours - June 27th
Gift Certificates for Classes/Workshops
Gift certificates may be used to join a public class, schedule a private class for 4–8 people, or help create a custom class experience.
Whether you’re gifting to an individual, a couple, or a small group, we’re happy to help bring people together and fill remaining spots as needed.
Visit our classes/workshop pages then reach out to us anytime—we’d love to help you share time at the farm this season. Call Casey for more info or to purchase 843-276-3115
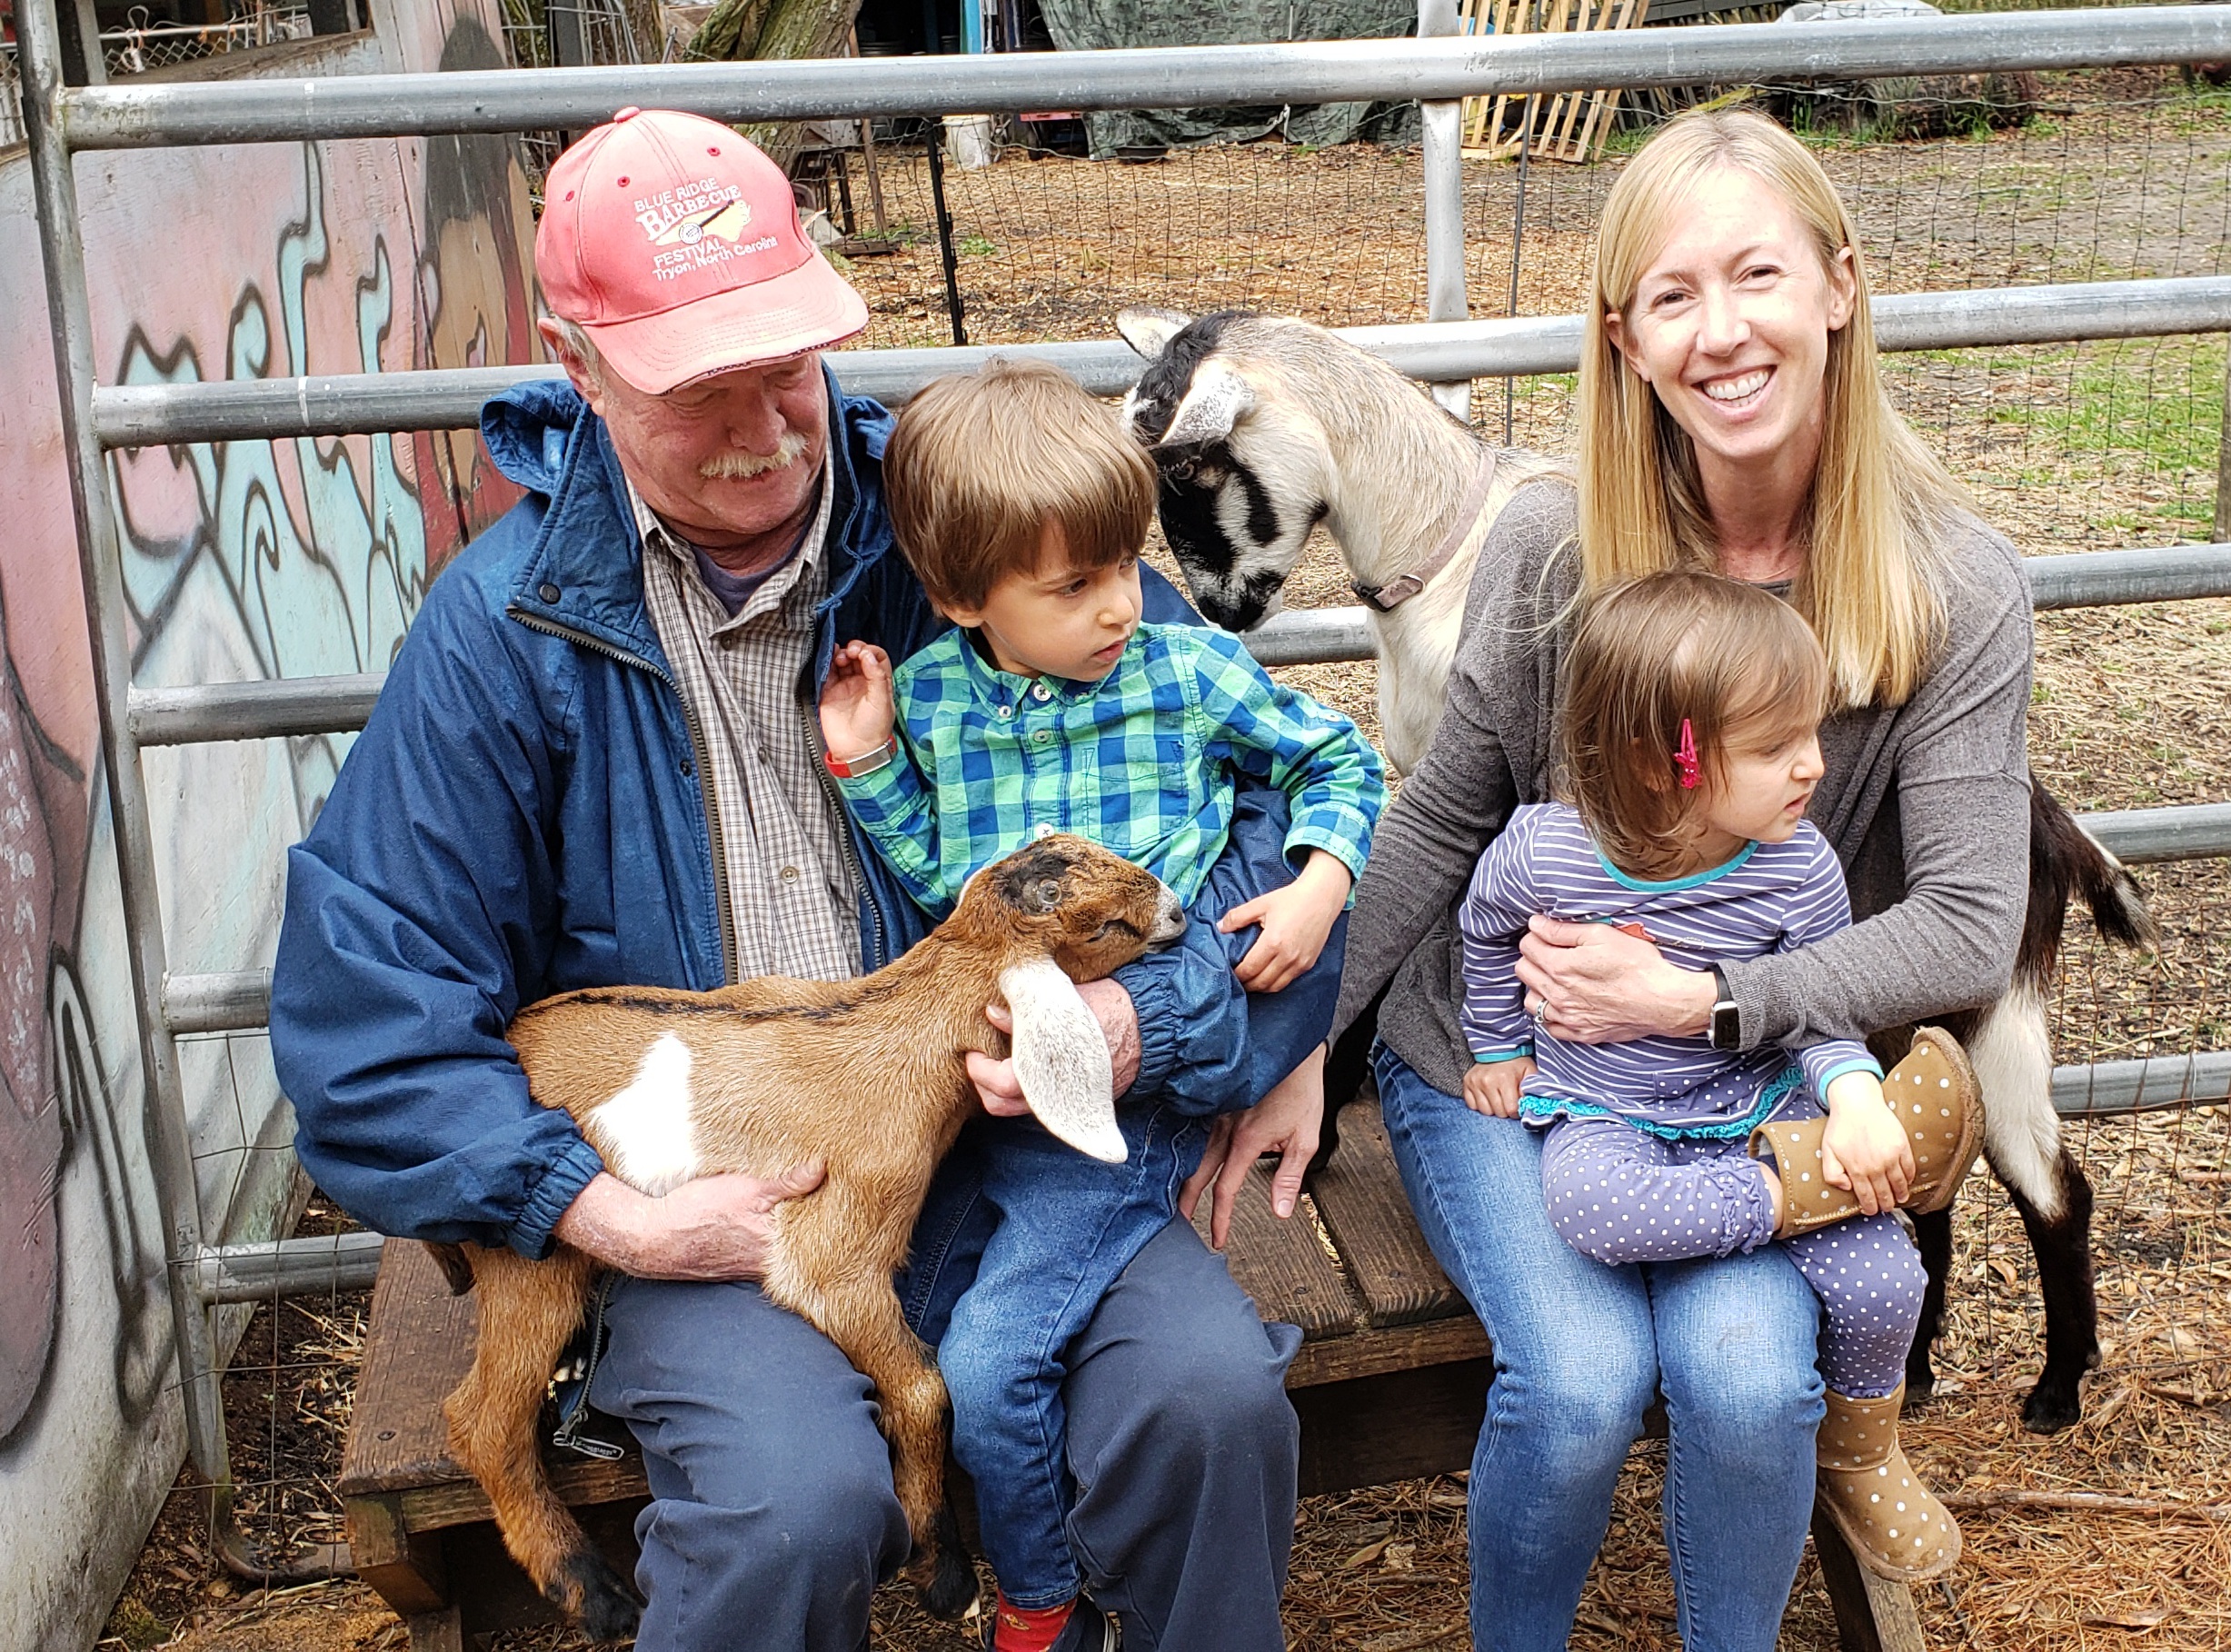
Gift Certificates- Farm Tours and Other Experiences
Whether you’re looking to spend a little time with the goats, gather friends or family, or gift someone a visit to the farm, we’re happy to help shape an experience that fits. Visits are available for individuals, couples, and small groups, with offerings that change with the seasons—and the goats’ moods.
Give us a call/email/text to start the conversation—we’d love to welcome you to the farm and share a bit of everyday farm life with you… 843-276-3115
What's In The Farm Store This Season?
• Flower seeds – 1.00 pk
• Fresh Ginger and Turmeric – 4.00 ea
• Goats milk soap – 6.00 per bar
• Handcrafted grapevine wreaths – 10.00 ea
• Herbs – 3.00 bunch
• Loofa sponge – 3.00 ea or 2 for 5,00
• Books about local farms/farmers– 20.00
• Bluebird House (handcrafted) – 20.00
• Farm T-shirt – 30.00
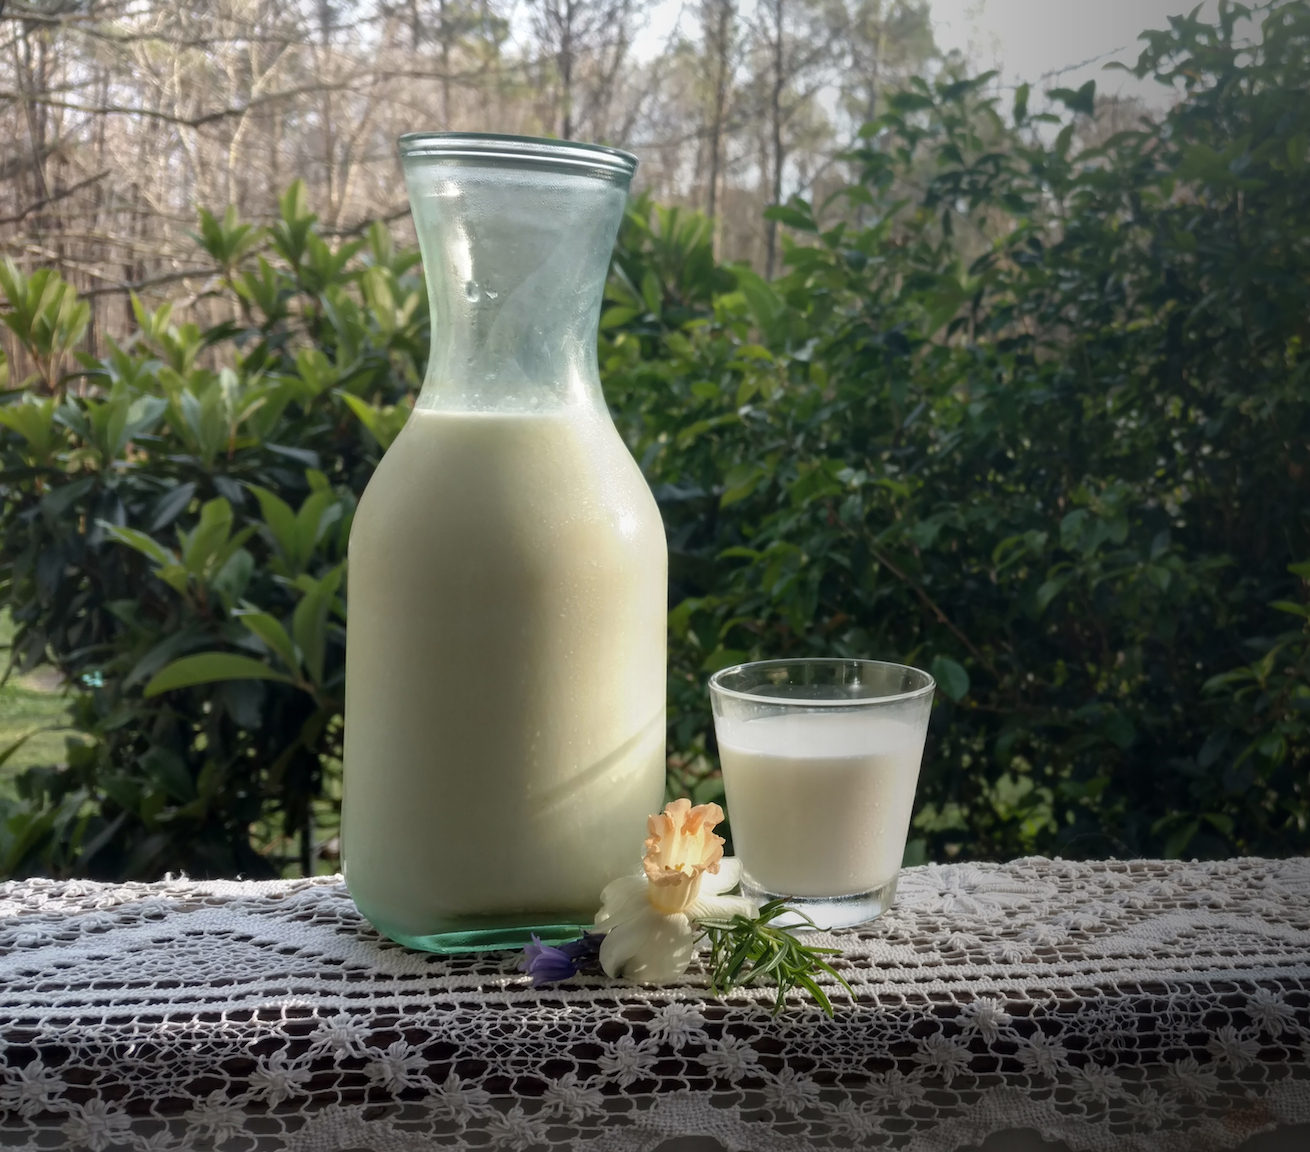
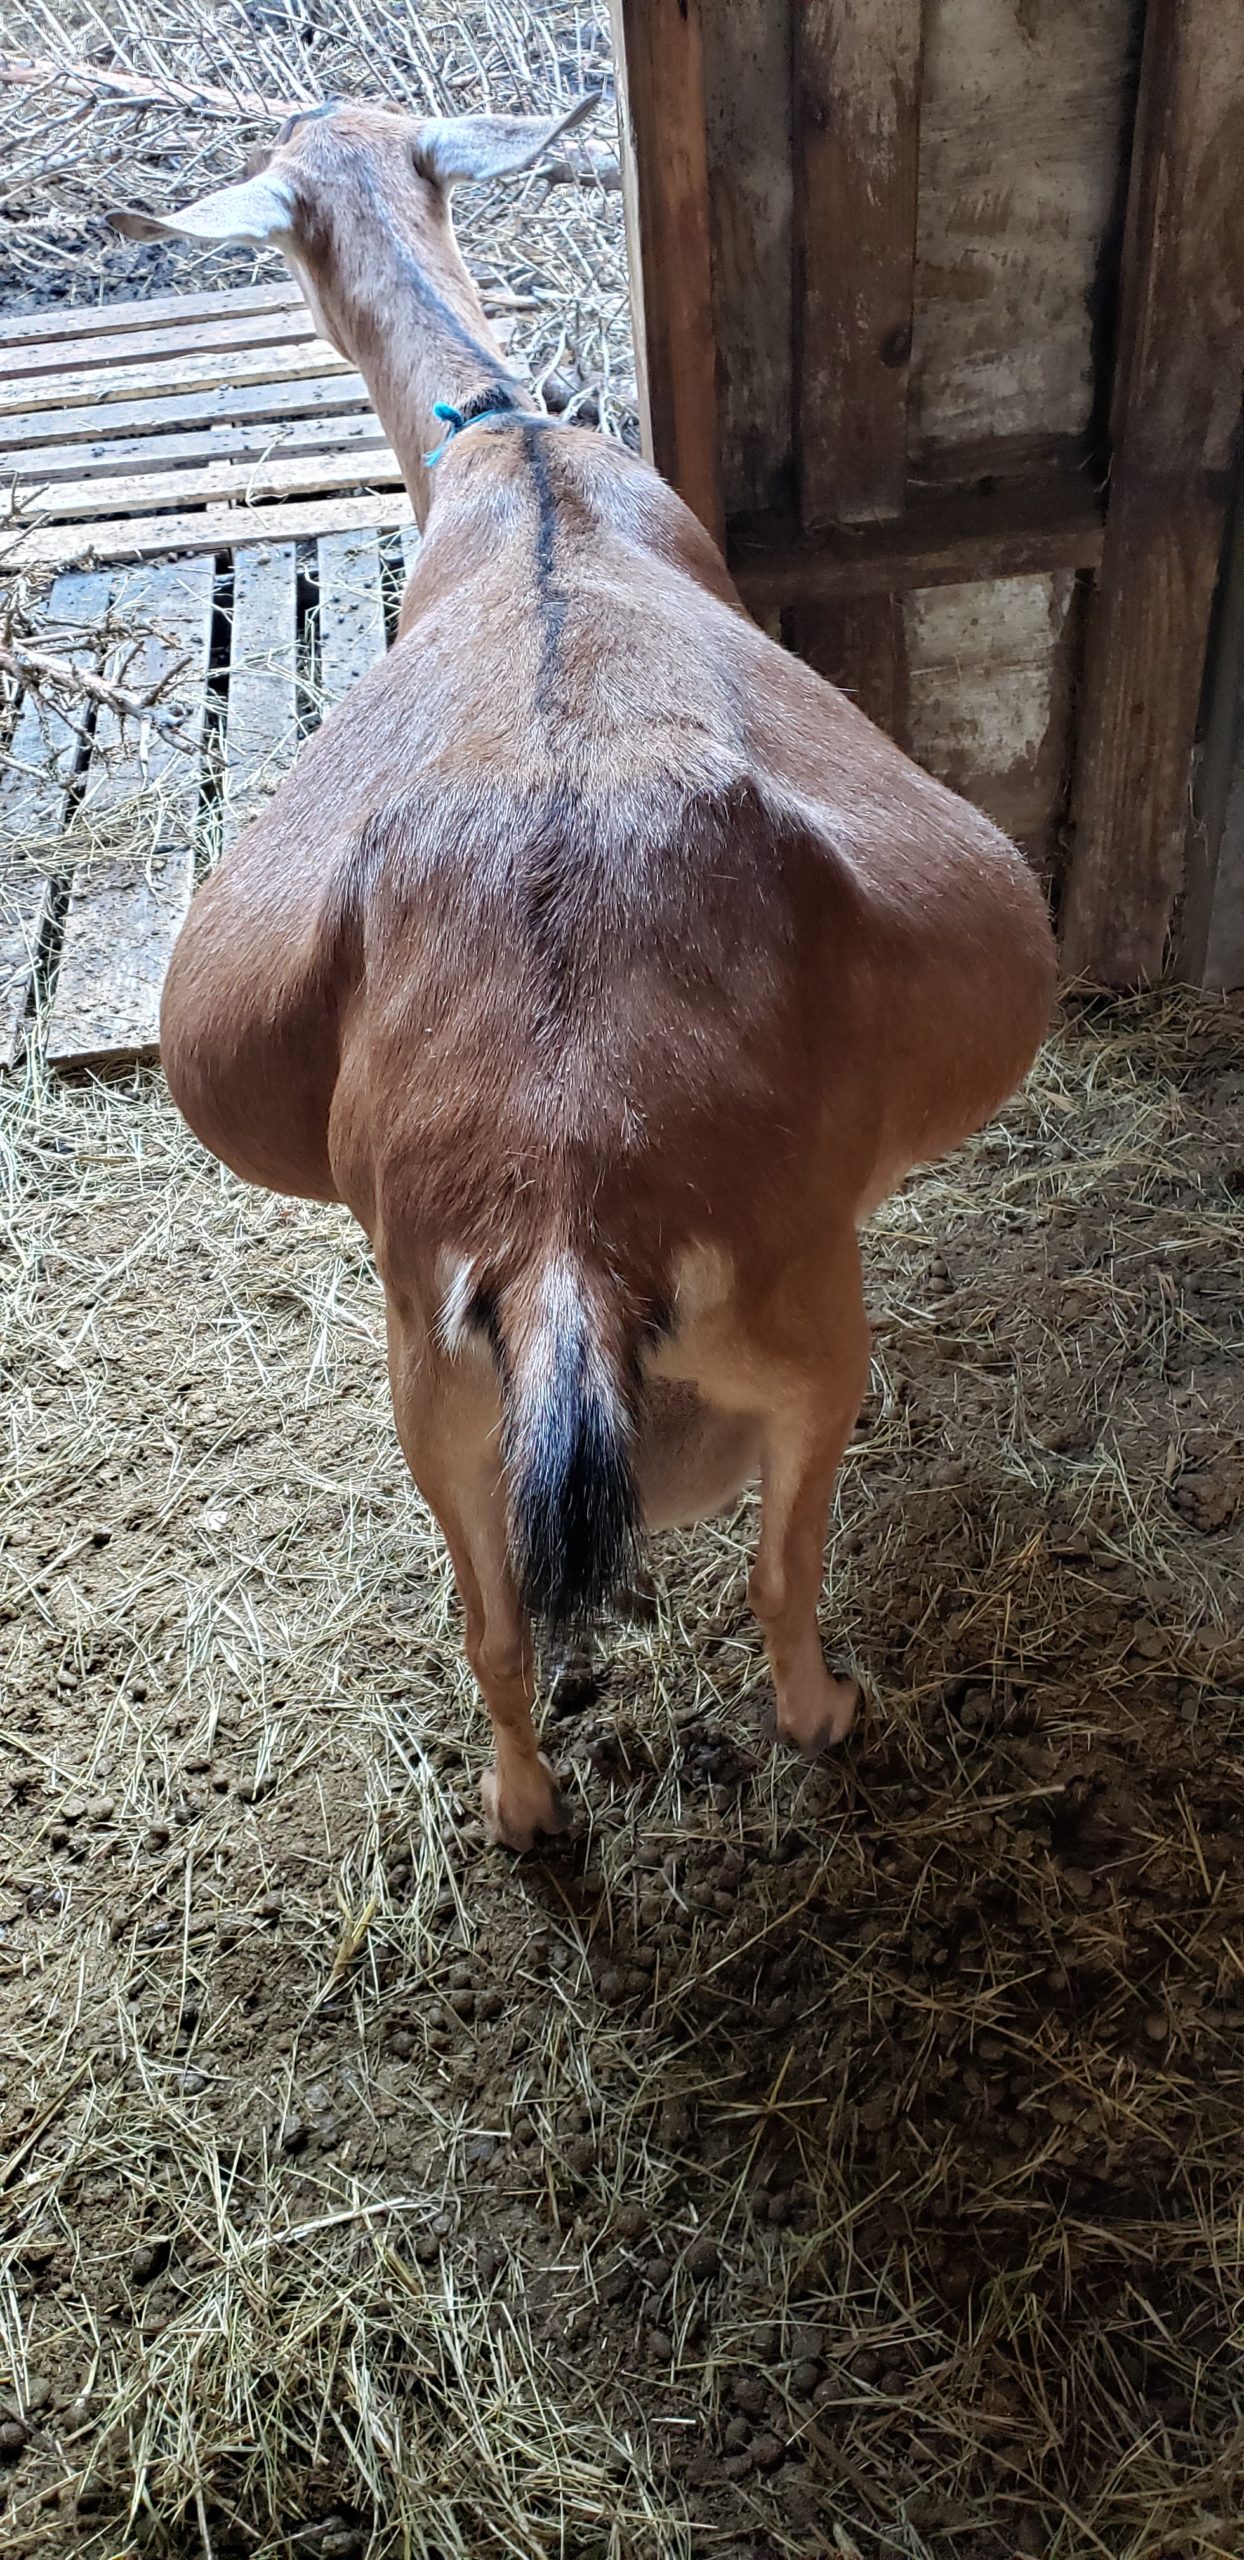
Go(a)t Milk?
When people try our products for the first time, they can’t believe they’re tasting goat milk. That’s because we’ve perfected our process over more than 20 years. and our goal is to provide you with the sweetest milk in South Carolina. Our goats are milked twice daily and fresh or frozen milk can be purchased in half gallon jugs at the farm.
Please note we are a seasonal dairy. Milk is available April Thru October. Call/Text for availability.
(Mon-Sat – by appointment only)
Go(a)t Milk?
When people try our products for the first time, they can’t believe they’re tasting goat milk. That’s because we’ve perfected our process over nearly 20 years. Goats are milked twice daily and fresh or frozen milk can be purchased in half gallon jugs at the farm. (Mon-Sat)
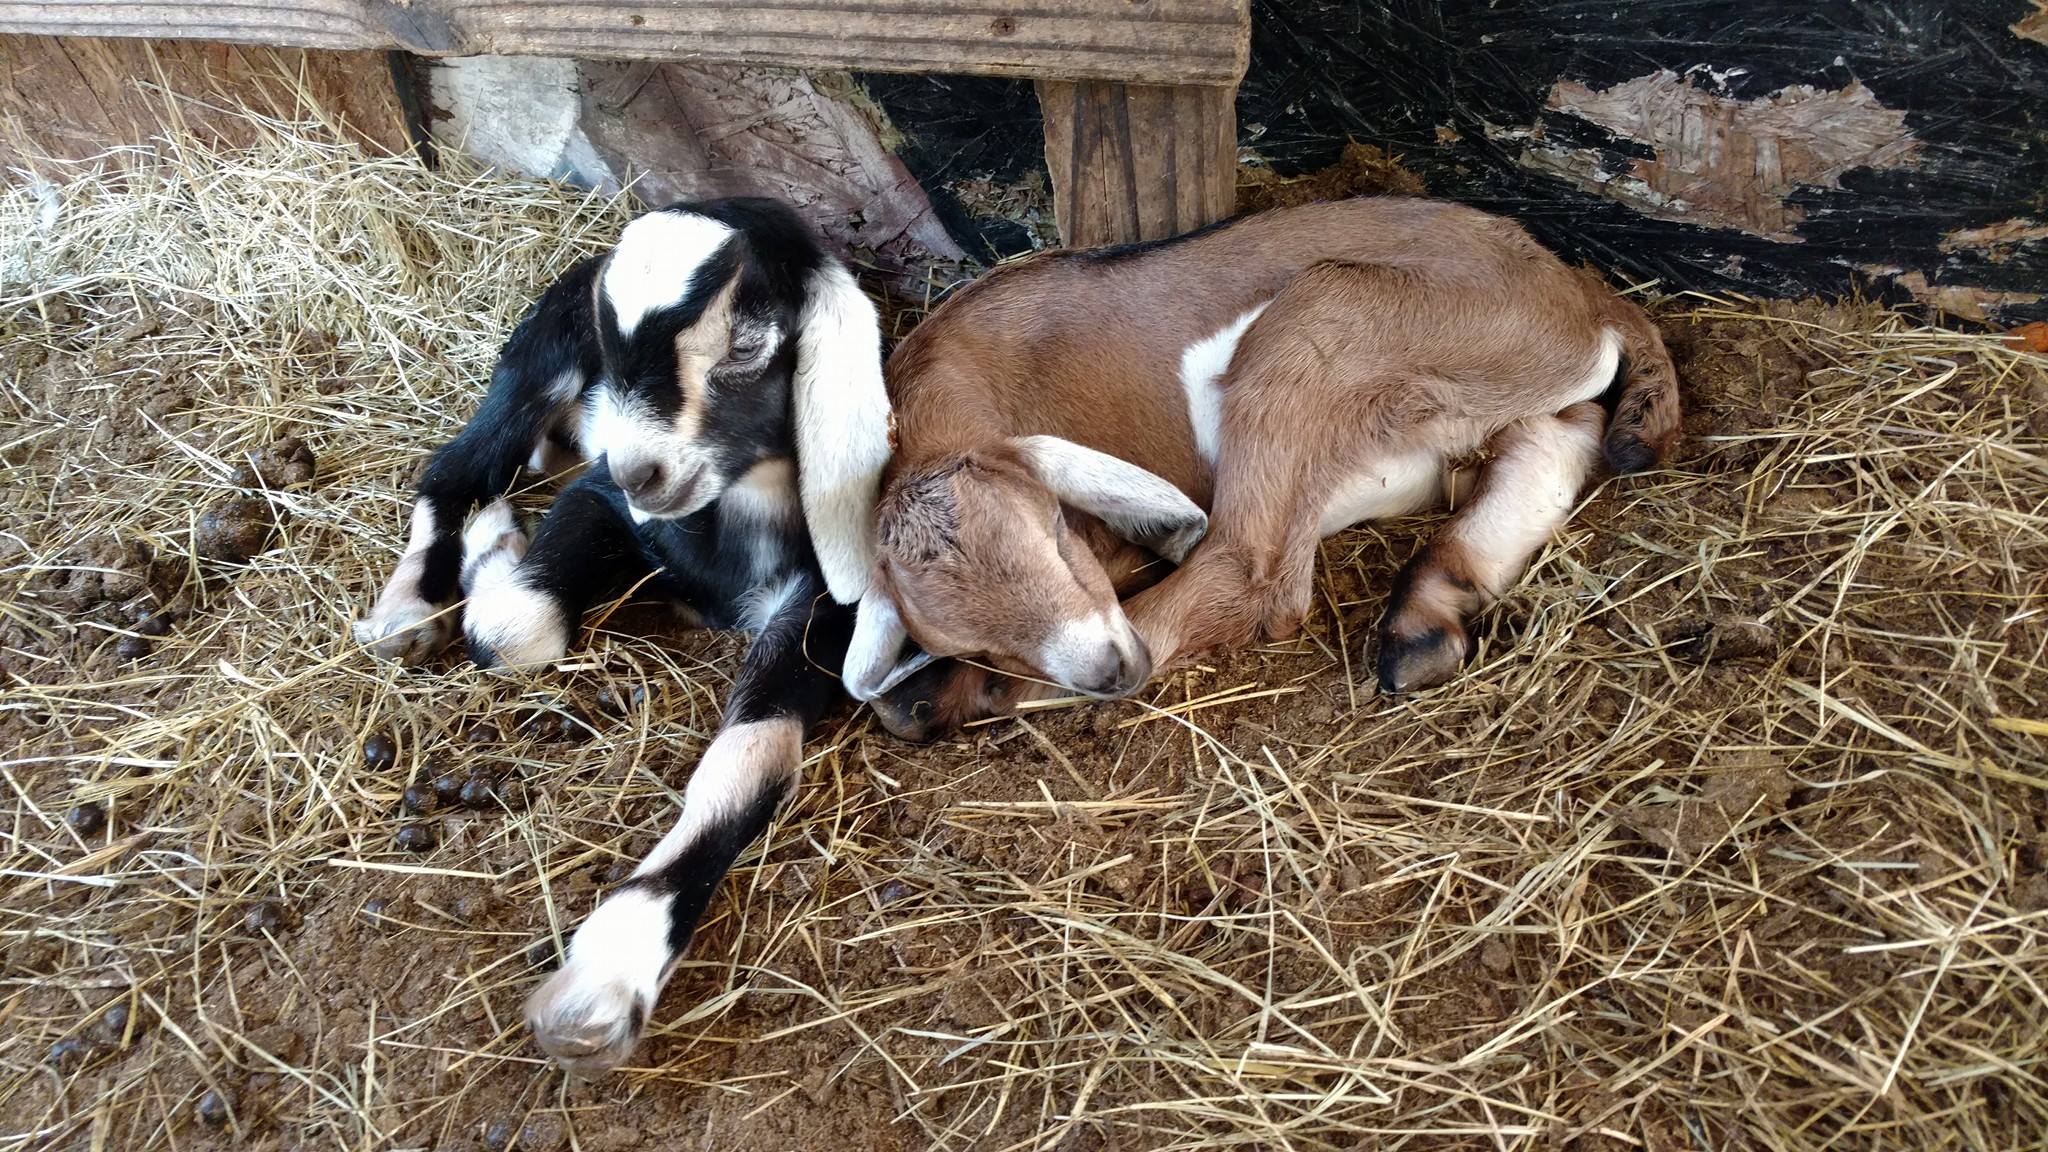
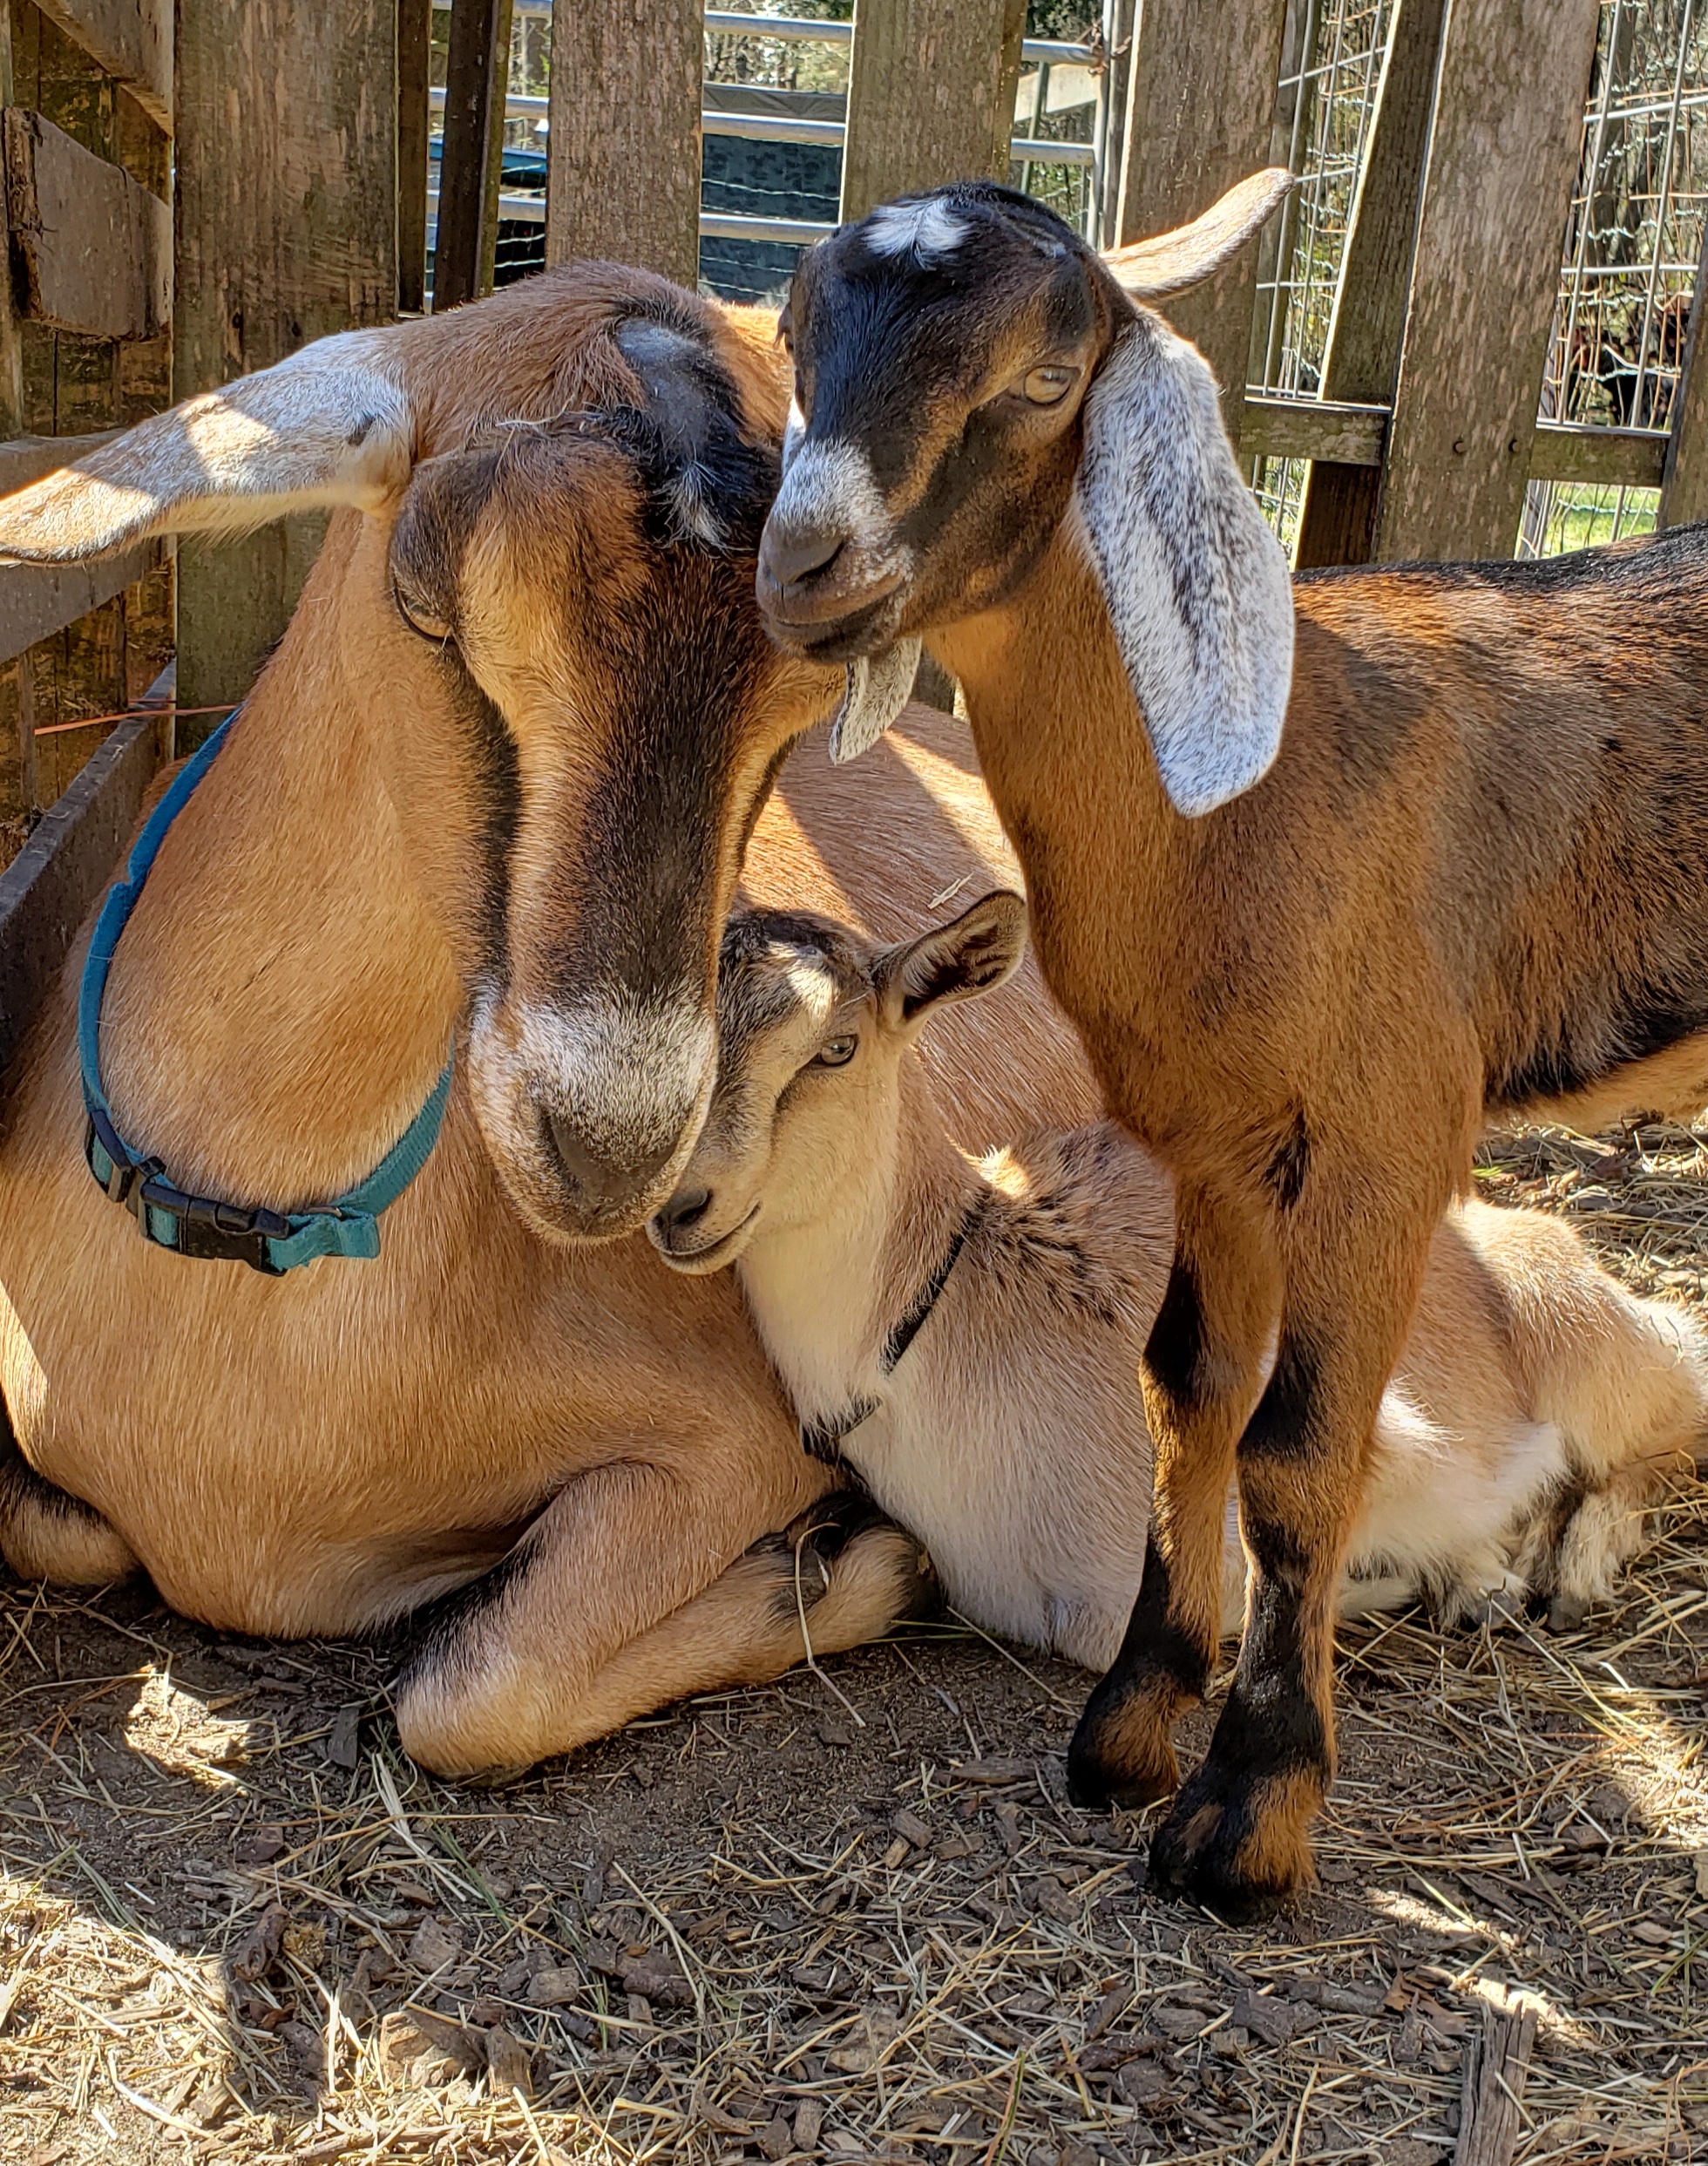
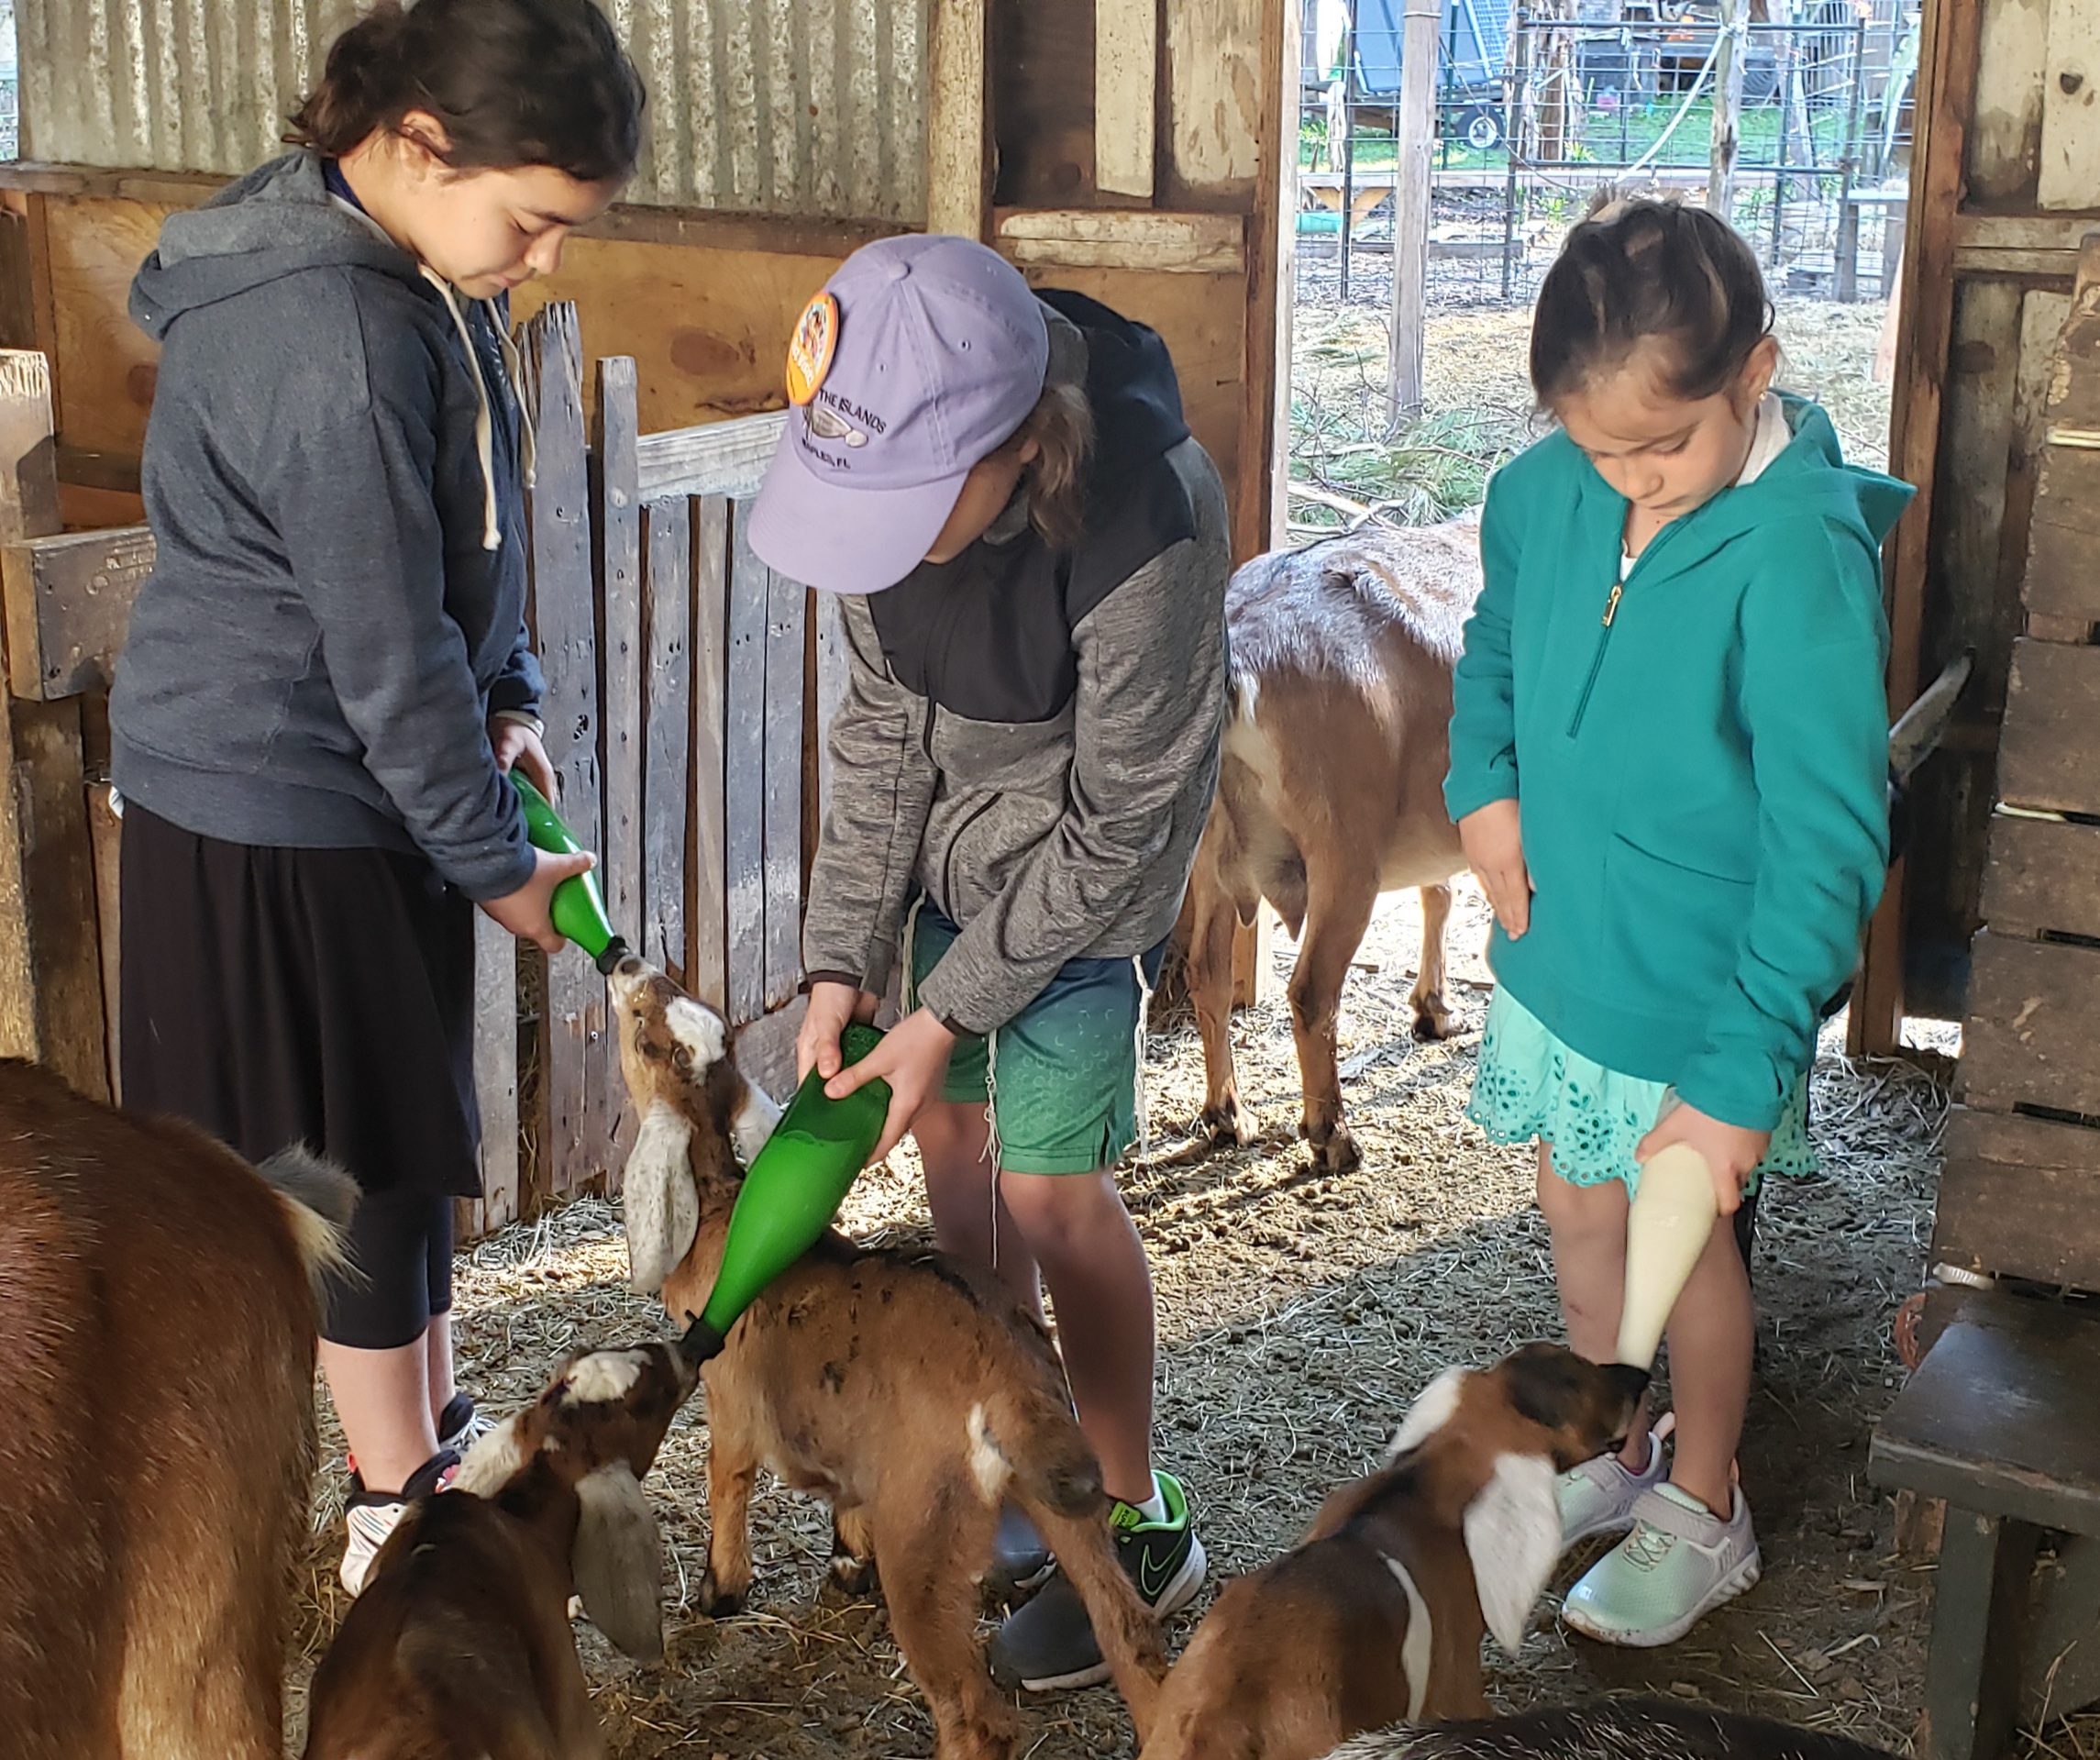
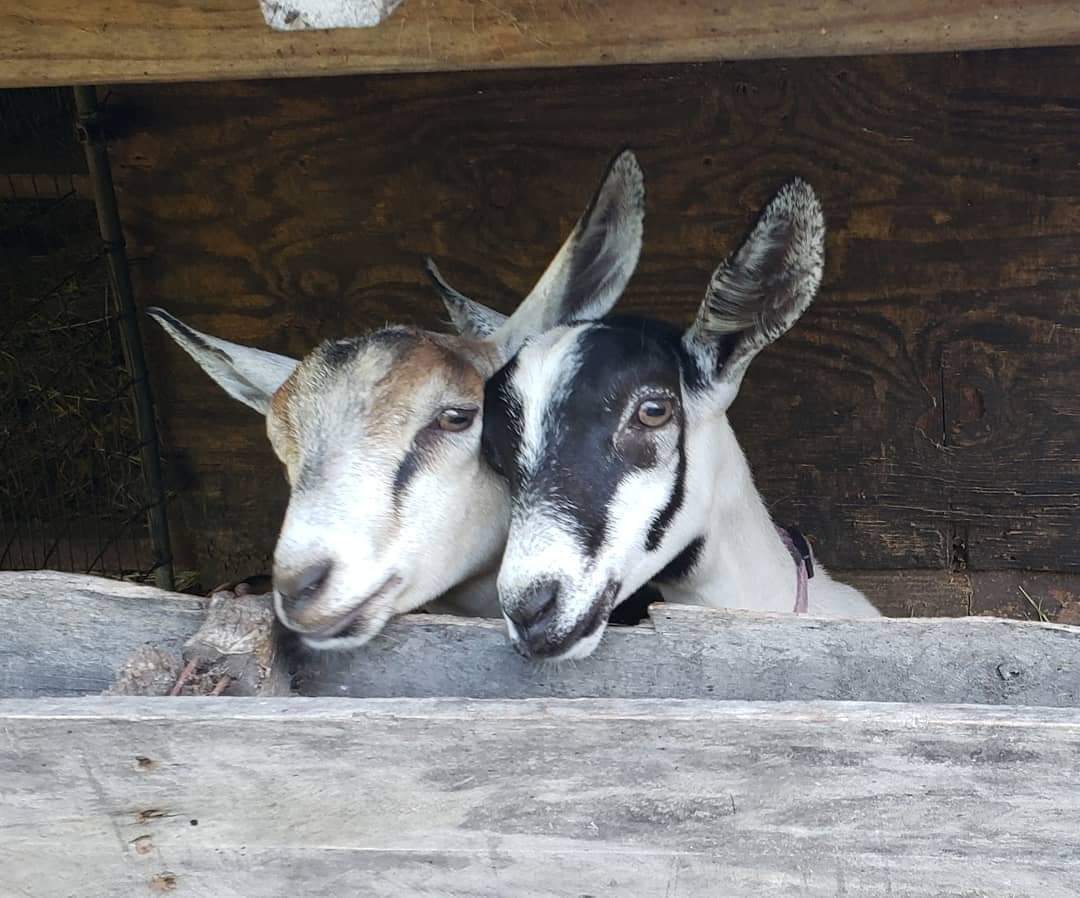
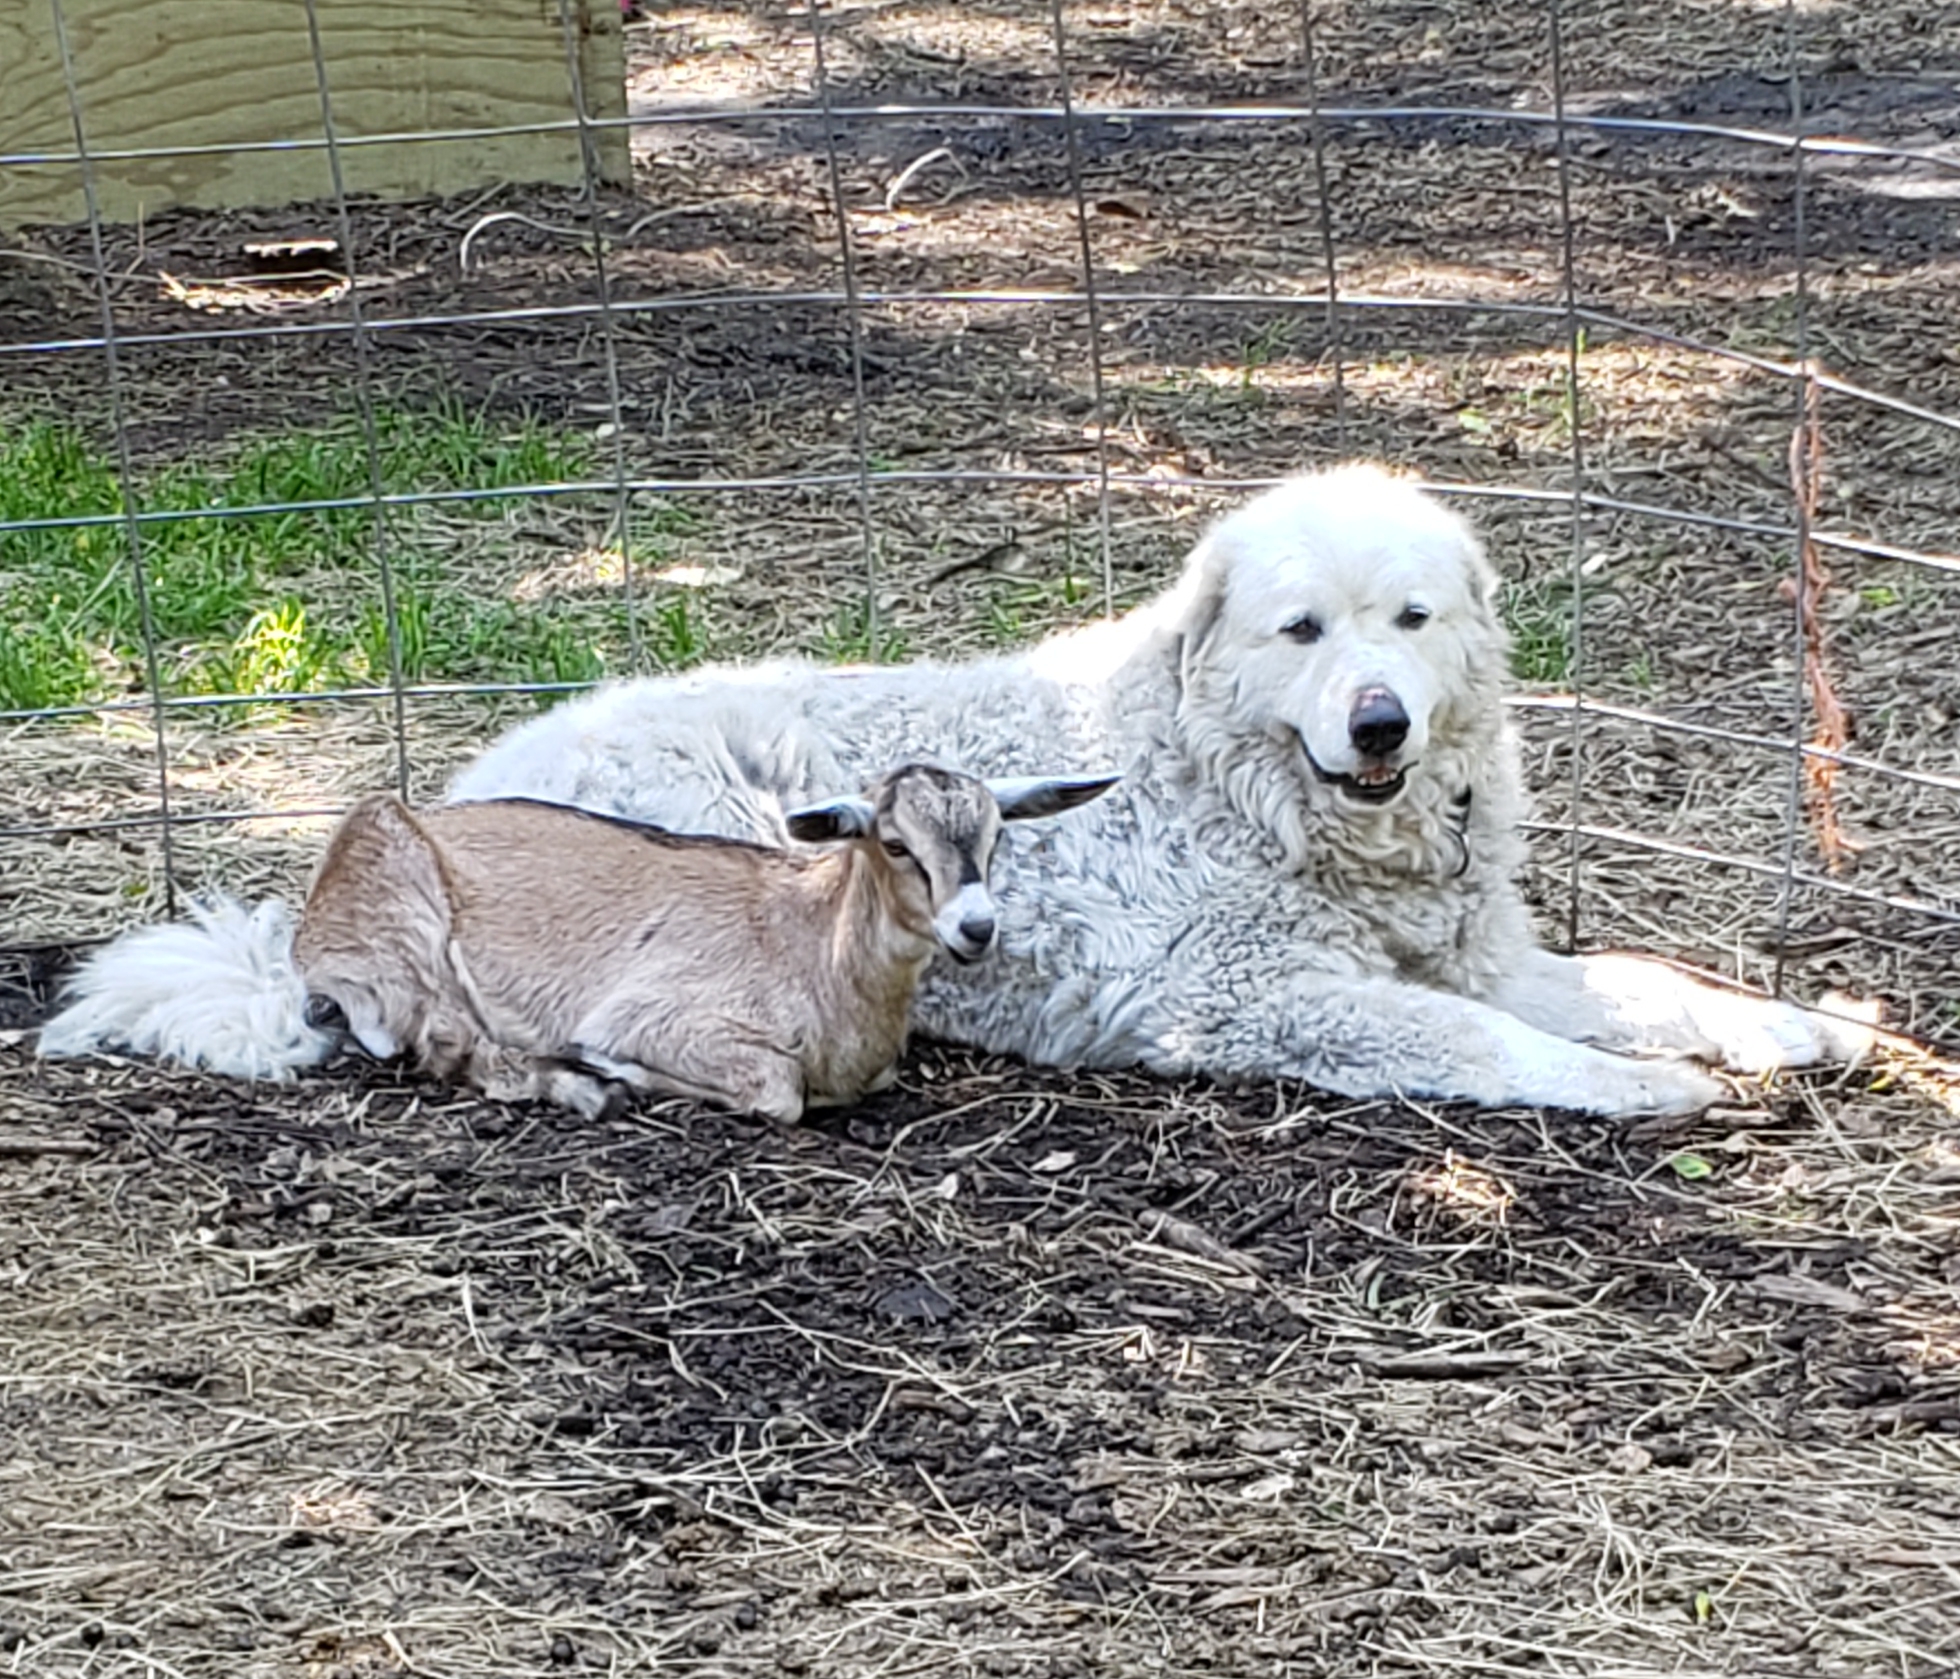
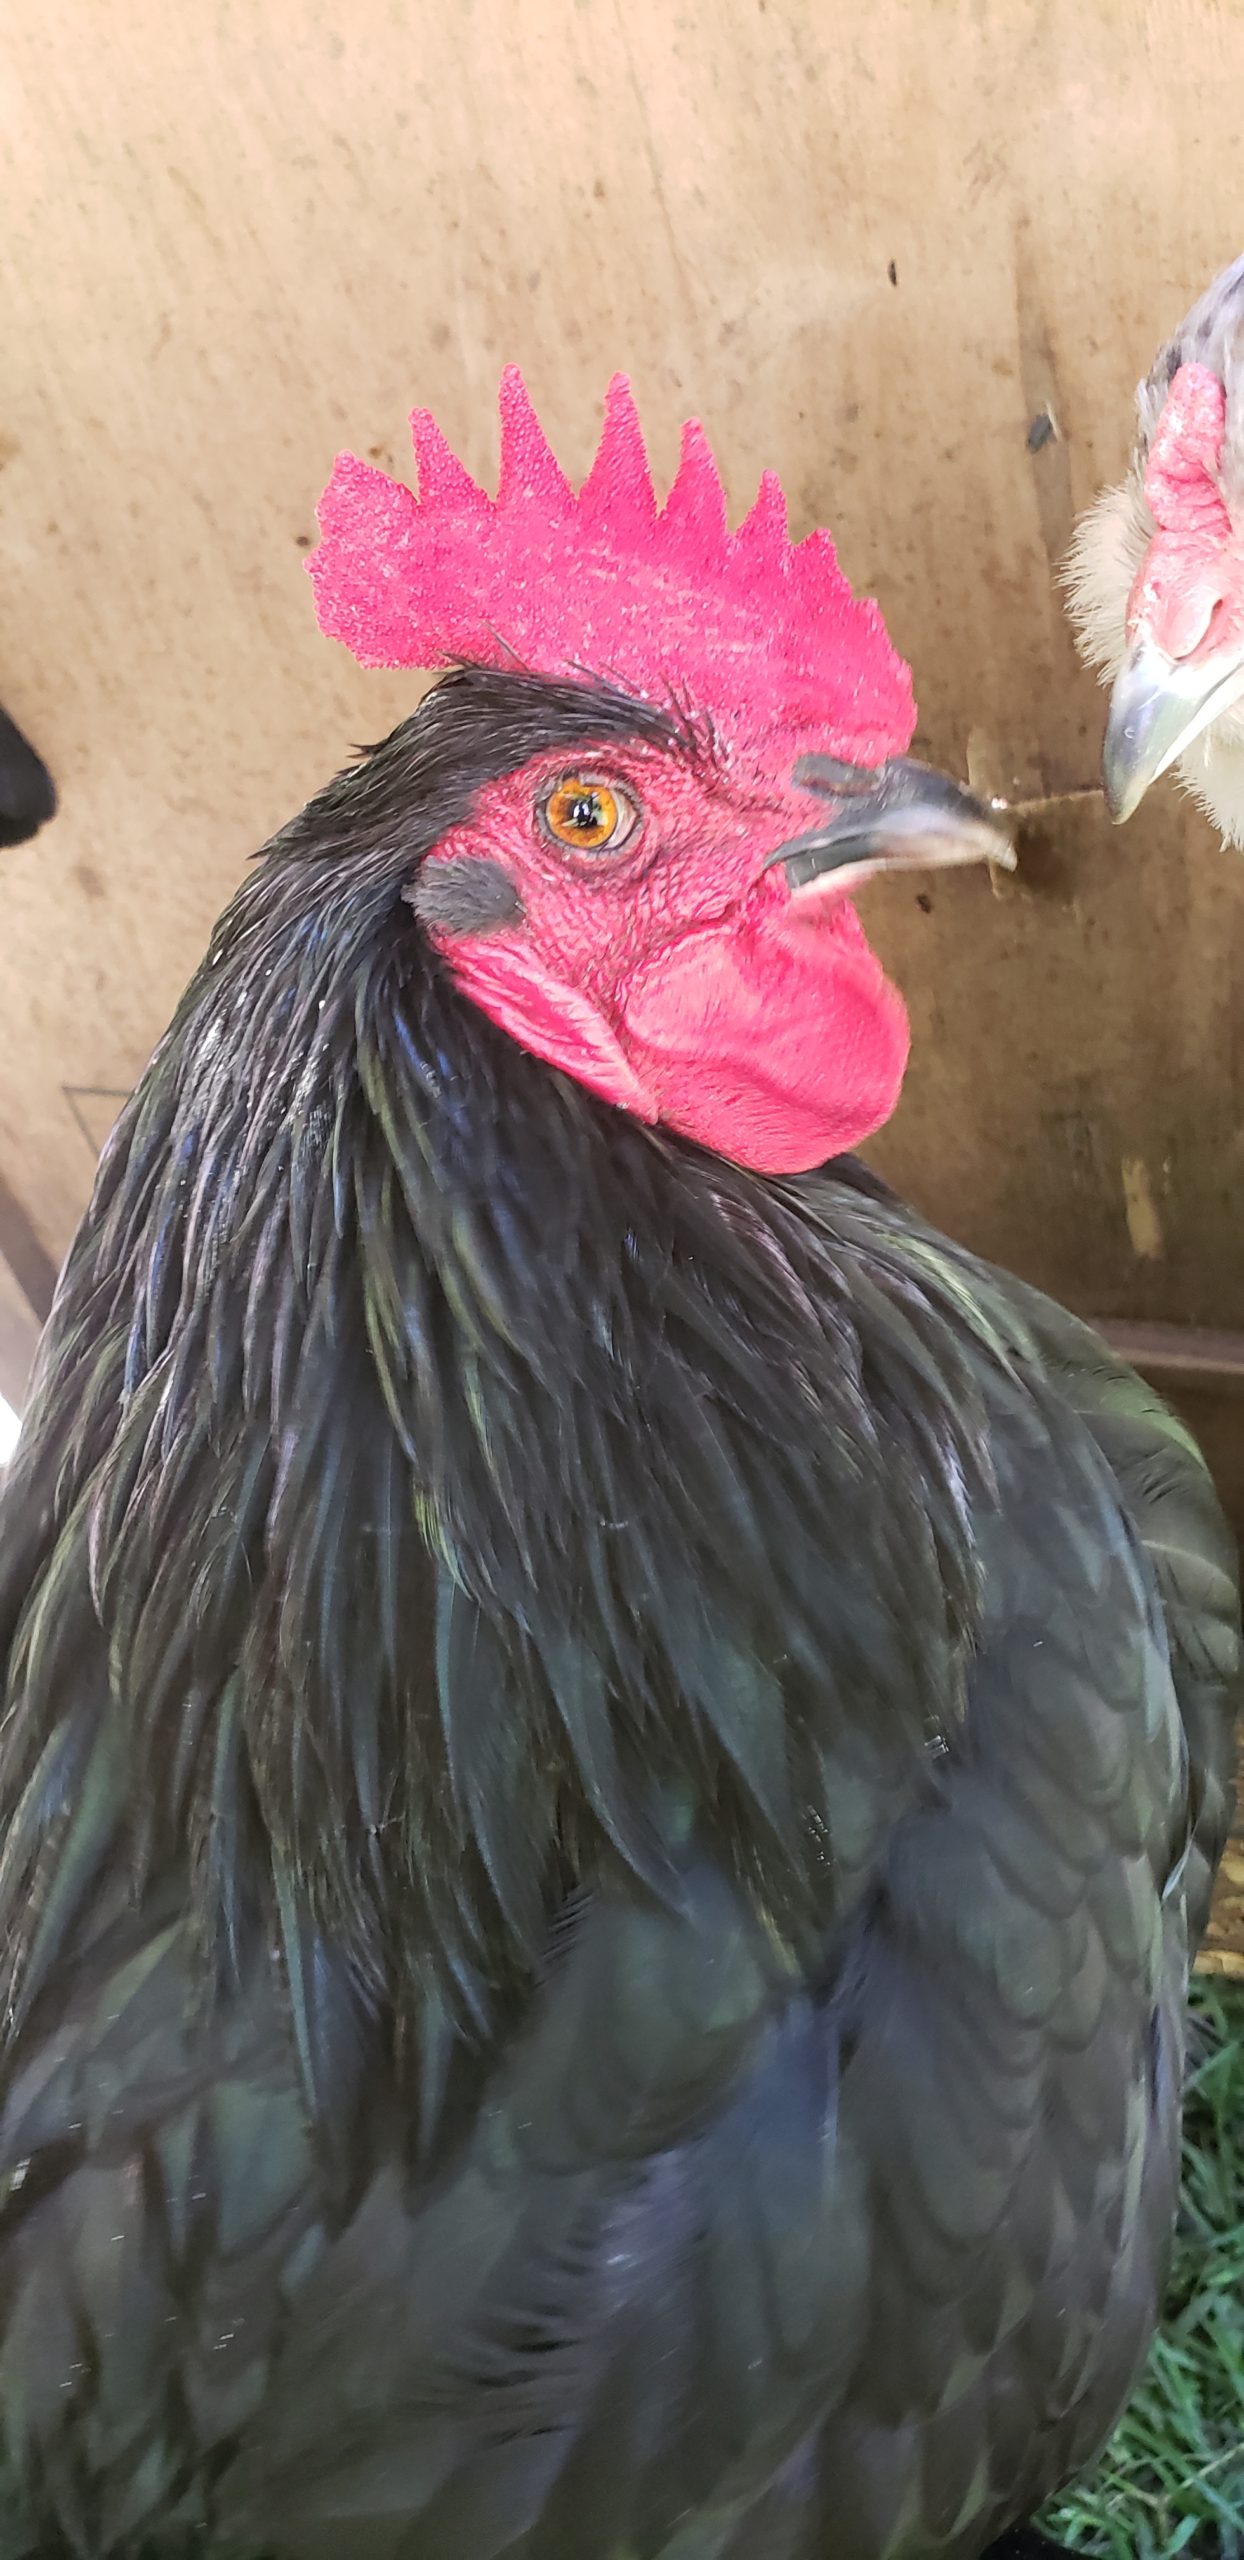
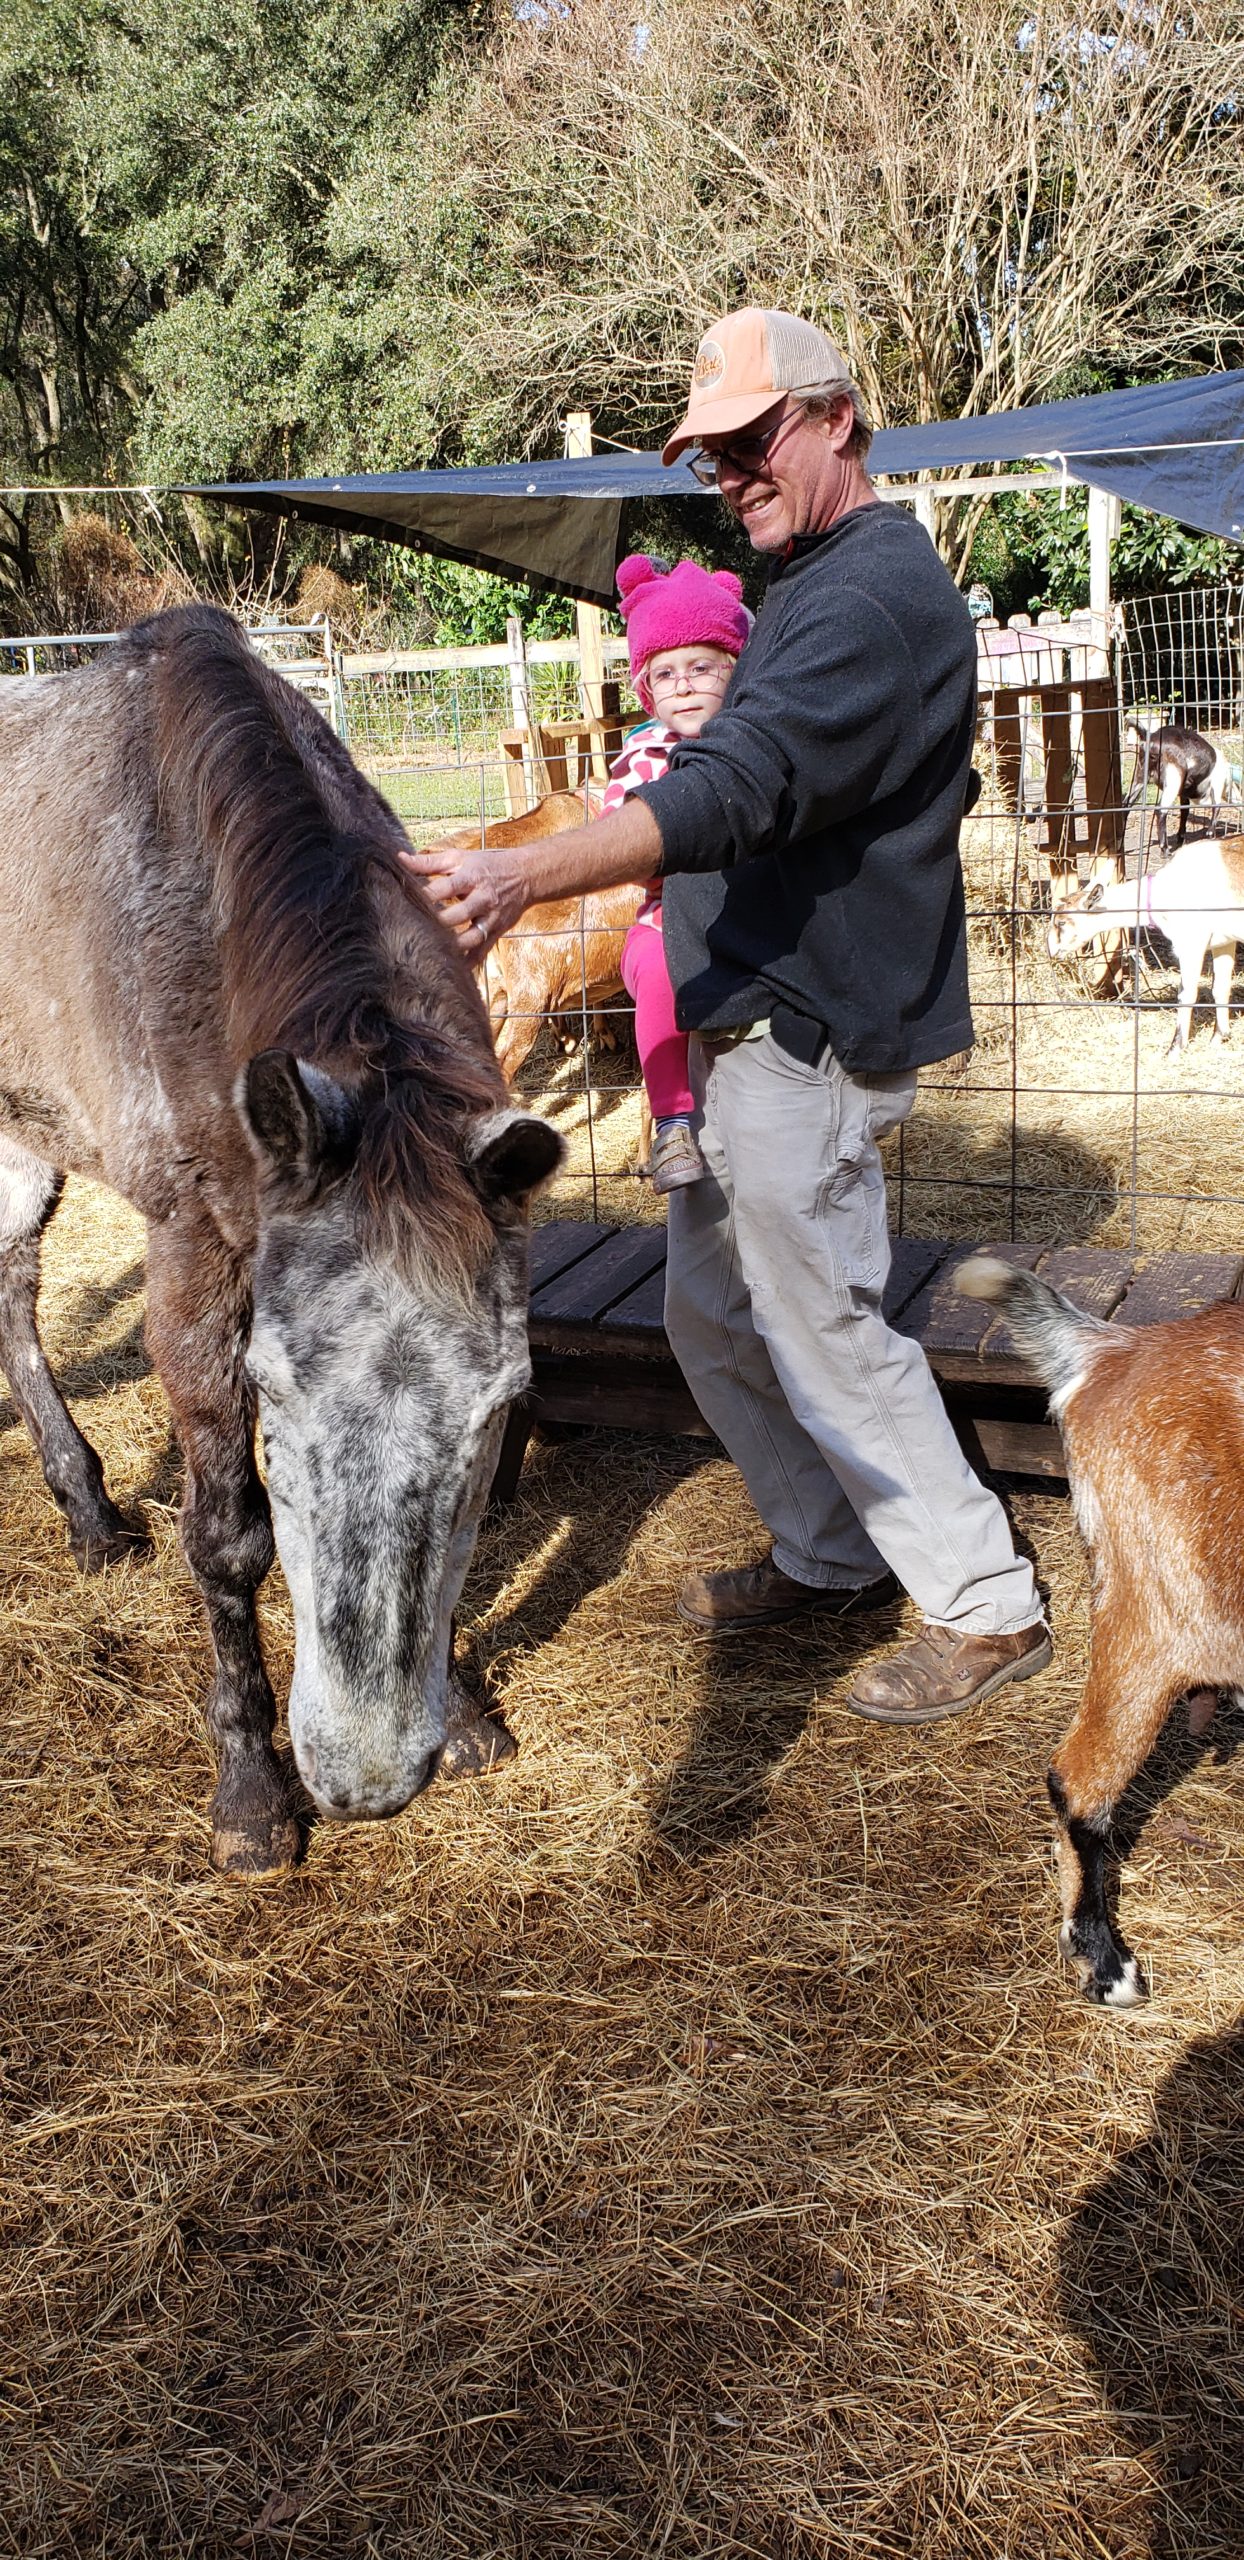
Stories From the Farm


Directions
From Maybank HWY:
Turn onto Main Road – Turn left onto Back Pen Road – Continue down Back Pen Road till the road deadends, then take a left onto a dirt road (Platt Road) – Continue on Platt Road till you see the farm on the left, there will be a sign.
From Savannah HWY:
Turn onto Main Road – Turn right onto Back Pen Road – Continue down Back Pen Road till the road deadends, then take a left onto a dirt road (Platt Road) – Continue on Platt Road till you see the farm on the left, there will be a sign.
CONTACT ME
to schedule a tour, book a class, make an appointment for milk or soap,
purchase gift certificates or get more information.
843-276-3115